Step-by-Step: How to Set Up a Professional Podcast Studio
Thinking of launching a podcast? Awesome! But to stand out in a booming market, you need pro-level audio. A dedicated home studio isn't a luxury—it's your key to building audience trust and a quality show.
Most beginners face three core challenges. First, gear confusion: with endless mics and interfaces, where do you even start? Second, ignoring room acoustics: even the best mic will pick up echoes in an untreated space. Finally, budget imbalance: it's tough to know where to splurge for the best sound.
This guide cuts through the noise. We'll transform those hurdles into a clear, step-by-step plan for building your professional-sounding home studio. Let's begin.
Plan Your Podcast's Vibe & Budget
1. Defining Your Podcast’s Purpose and Format
Single Person Podcast:
Keep it simple and cozy! All you really need is a good mic, a quiet space, and a clean audio chain. No fancy setup—just you and your voice sounding crisp.
Interview Podcast (Remote):
If your guest is far away, focus on a solid internet connection and a reliable recording platform. Bad Wi-Fi? That’s your enemy!
Interview Podcast (In-person):
When you’re in the same room, grab multiple mics and an audio interface. Everyone gets their own mic—no sharing needed.
Group Discussion Podcast:
More people = more planning. Watch your seating arrangement, give everyone a mic, and keep mics spaced out to avoid crosstalk.
Video Podcast:
Lights, camera, audio! Add at least one good camera, soft lighting, and a clean or intentional background. It’s not just sound anymore—it’s a vibe.
2. Match Your Podcast Style to the Right Gear
Your podcast’s vibe shouldn’t be an afterthought. It should shape your setup from day one.
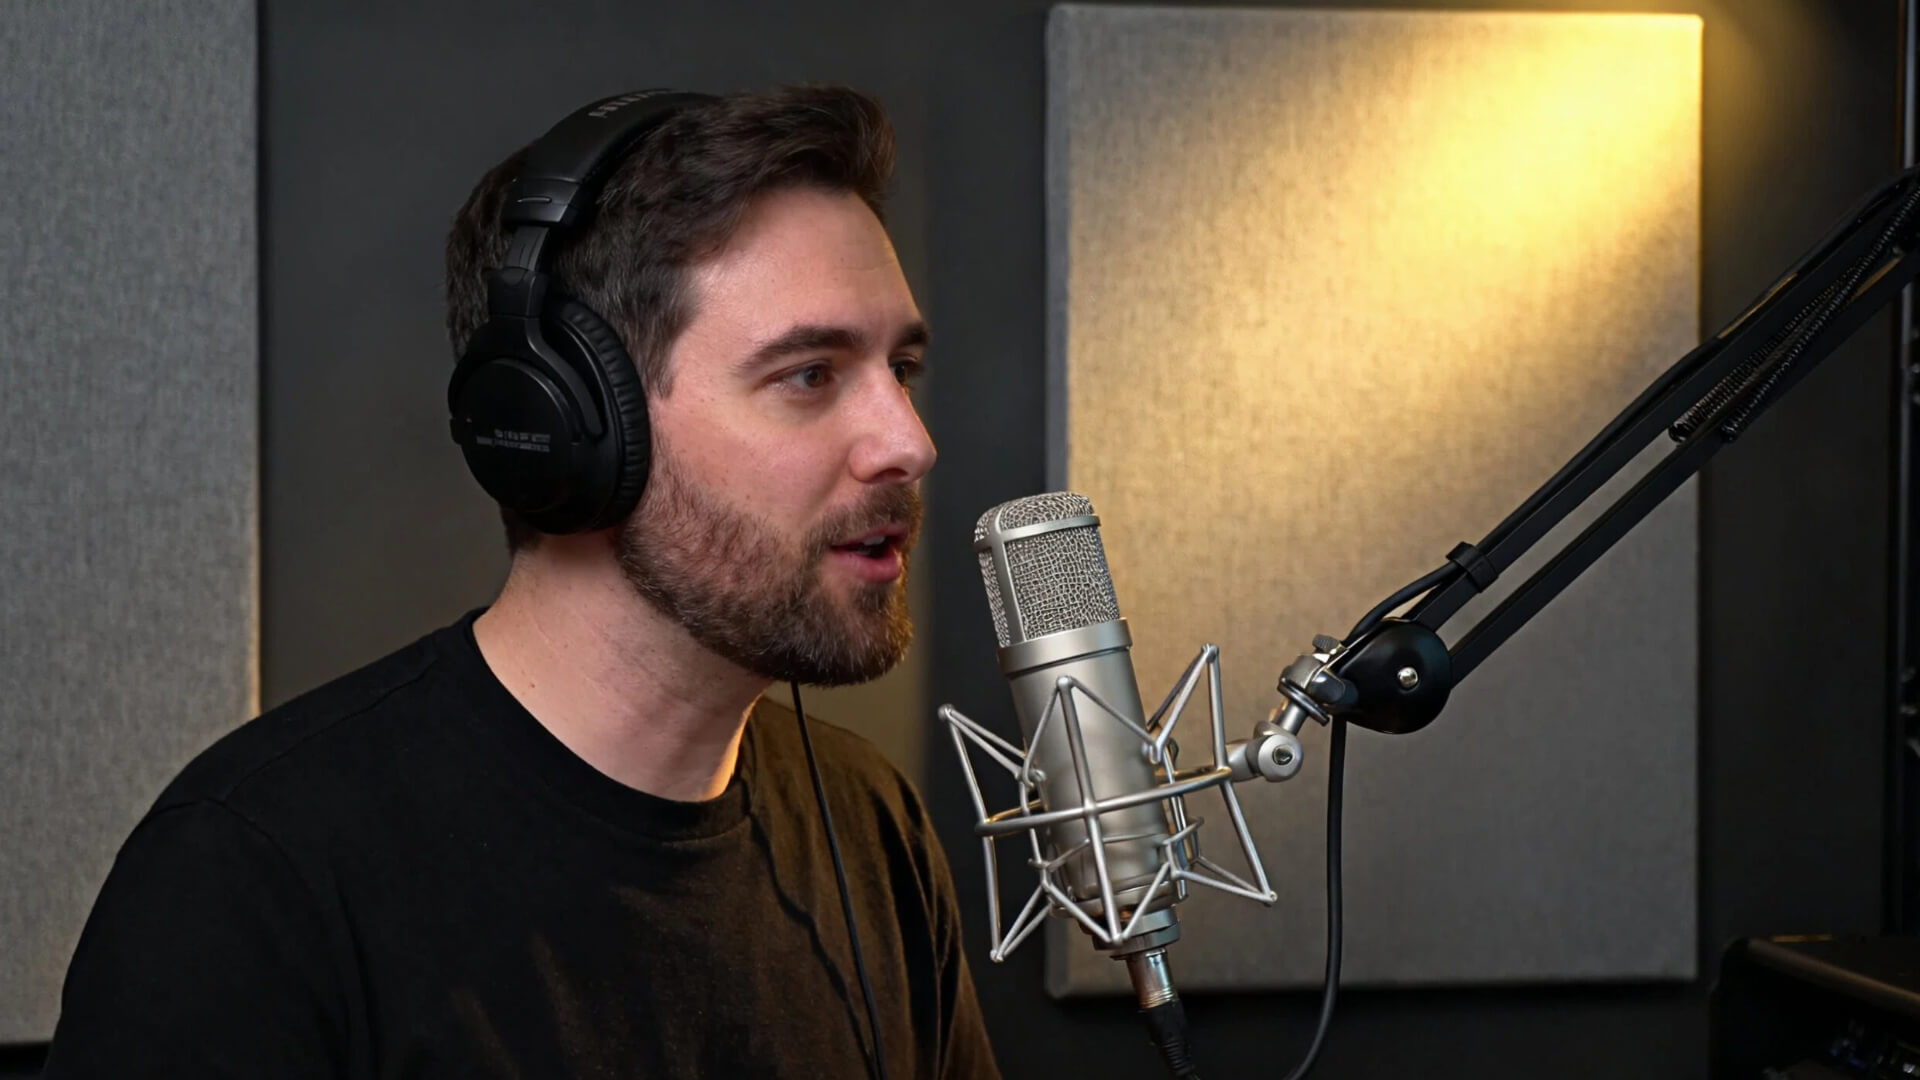
If you're creating something formal or educational, your goal is clarity and trust. Sound-wise, that means recording in a quiet, treated space — think a room with soft furnishings or a closet with clothes to absorb echo. Visually, keep it clean and professional. A simple background, good neutral lighting, and minimal distractions help your audience focus on what you’re saying.
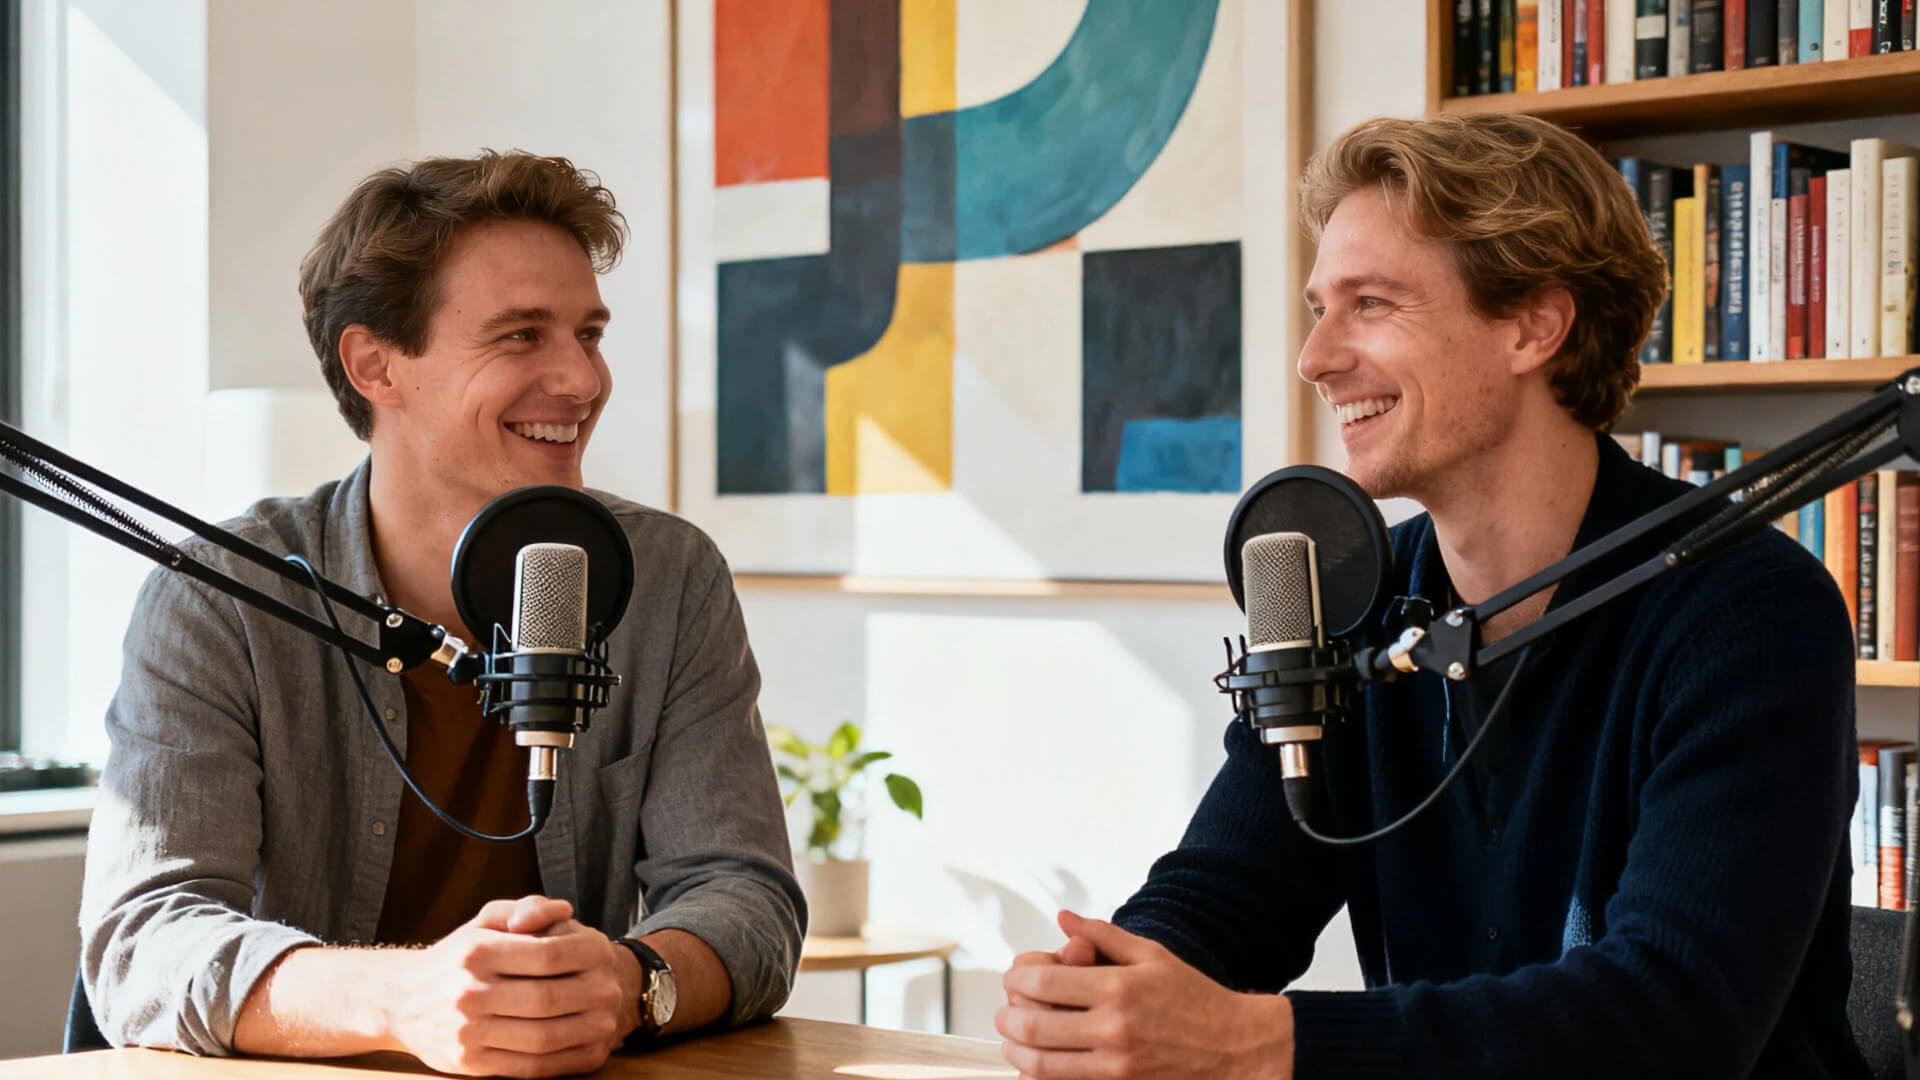
If your show is more fun and conversational, lean into that energy. Your audio can feel more intimate — a dynamic microphone that picks up the warmth in your voice helps. Visually, don’t be afraid to let your personality shine. Add color, decor, or fun lighting that reflects the tone of your show.
And no matter your style — consistency is key. Your visuals (lighting, background, even what you wear) and your audio (voice tone, sound quality, music) should work together to create a recognizable brand. When someone sees or hears a clip, they should know it’s you — before you even say your name.
3. Budget Breakdown for Your Podcast Setup
Here’s a simple way to plan your podcast budget — clear, practical, and focused on what really matters for great sound.
🎙️ Starter Setup (200–300)
- Ideal for: Beginners testing the waters
- Focus: Solid USB mic + basic acoustic treatment
- Budget split:
- 50% – USB Microphone
- 30% – Acoustic panels or portable vocal booth
- 20% – Accessories (pop filter, stand, cables)
🚀 Intermediate Setup (500–800)
- Ideal for: Consistent creators ready to level up
- Focus: XLR mic + audio interface + proper room treatment
- Budget split:
- 40% – XLR Microphone
- 25% – Audio Interface
- 25% – Acoustic treatment (panels, bass traps)
- 10% – Headphones & accessories
🎚️ Professional Setup ($1500+)
- Ideal for: Studios & full-time creators
- Focus: Broadcast-quality gear + full soundproofing
- Budget split:
- 30% – High-end microphone & preamp
- 25% – Professional audio interface
- 25% – Full acoustic treatment
- 20% – Monitoring, cabling & backup gear
💰 Golden Rule: Audio First
No matter your budget — always prioritize:
- Microphone
- Acoustic treatment
- Audio interface
Good sound keeps listeners. Poor sound loses them. Start clean, grow smart.
Your Space: Taming Room Acoustics
Choosing and treating your space is the most critical step before you even think about microphones. Here’s a detailed, professional breakdown.
-
Forget aesthetics at first. Your primary concern is acoustics.
-
Size & Shape: Taming Room Modes
- The Problem: Small, square, or cube-shaped rooms are your worst enemy. They create strong, uneven "room modes" (standing waves), which exaggerate certain bass frequencies and cause a "boomy" or "boxy" sound. You'll also get pronounced flutter echo (a rapid, ringing echo between parallel walls).
- The Solution: Prioritize a larger, rectangular room. The irregular dimensions help break up these standing waves. A good rule of thumb is to look for a room where the ceiling height, length, and width are not multiples of each other.
-
Background Noise: The SNR (Signal-to-Noise Ratio) Battle
- The Goal: Maximize your signal (your voice) over the noise (everything else).
- Constant Noise Sources: HVAC systems, refrigerator hum, computer fans. Use a spectrum analyzer app on your phone to identify low-frequency hums you might not immediately hear.
- Intermittent Noise Sources: Traffic, plumbing, footsteps, voices from other rooms. These are the true "take-killers."
- Professional Tip: Walk around the potential room at different times of day with high-quality closed-back headphones on, listening intently. The quietest room is always the best starting point.
-
Initial Acoustic Diagnosis
- The Clap Test: Clap sharply once. If you hear a sharp, ringing tail or a "zippy" flutter between parallel walls, the room is too reflective.
- The Voice Test: Speak loudly in various parts of the room. Can you hear distinct echoes or does your voice seem to "load" up in certain corners? This indicates a need for broadband absorption.
Acoustic Treatment vs. Soundproofing
| Feature | Acoustic Treatment | Soundproofing |
|---|---|---|
| The Core Goal | To improve the sound quality inside your room. | To prevent sound from traveling in or out of your room. |
| What It Fixes | Echo, reverb, flutter, and that "talking in a box" feeling. | Noise complaints from neighbors; outside traffic, lawnmowers, etc. |
| How It Works | Uses absorbers (foam panels, bass traps) and diffusers to manage sound waves. | Adds mass (extra drywall) and seals air gaps (doors, windows). |
| Cost & Difficulty | Relatively affordable and often a DIY project. | Expensive, complex, and often requires professional construction. |
Budget-Friendly Acoustic Solutions
- Use thick moving blankets, rugs, and filled bookshelves as absorbers
- Focus on wall behind microphone and first reflection points
- Build DIY panels with rock wool insulation (better than cheap foam)
Professional Soundproofing Techniques
- Requires room-within-room construction and acoustic doors/windows
- Complex, expensive, and often needs professional installation
- Usually impractical for home studios and rented spaces
Optimizing Room Acoustics Step-by-Step
Ready to tune your space? Follow this process:
- The Clap Test: Start in an empty room. Clap sharply. If you hear a sharp, ringing echo (flutter echo), you need absorption.
- Kill the First Reflections: Treat the key reflection points on your side walls and ceiling with acoustic panels. This is your #1 priority.
- Trap the Bass: Low-frequency buildup happens in corners. Place bass traps in as many room corners as you can. This cleans up "boomy" vocals.
- Add Depth (Advanced): Once reflections are controlled, consider a diffuser on the wall behind you to make the room sound more natural and less "dead."
- Test and Refine: Record your voice. Listen back. Does it sound dry and clear? If not, adjust panel placement and add more treatment as needed. It's an iterative process!
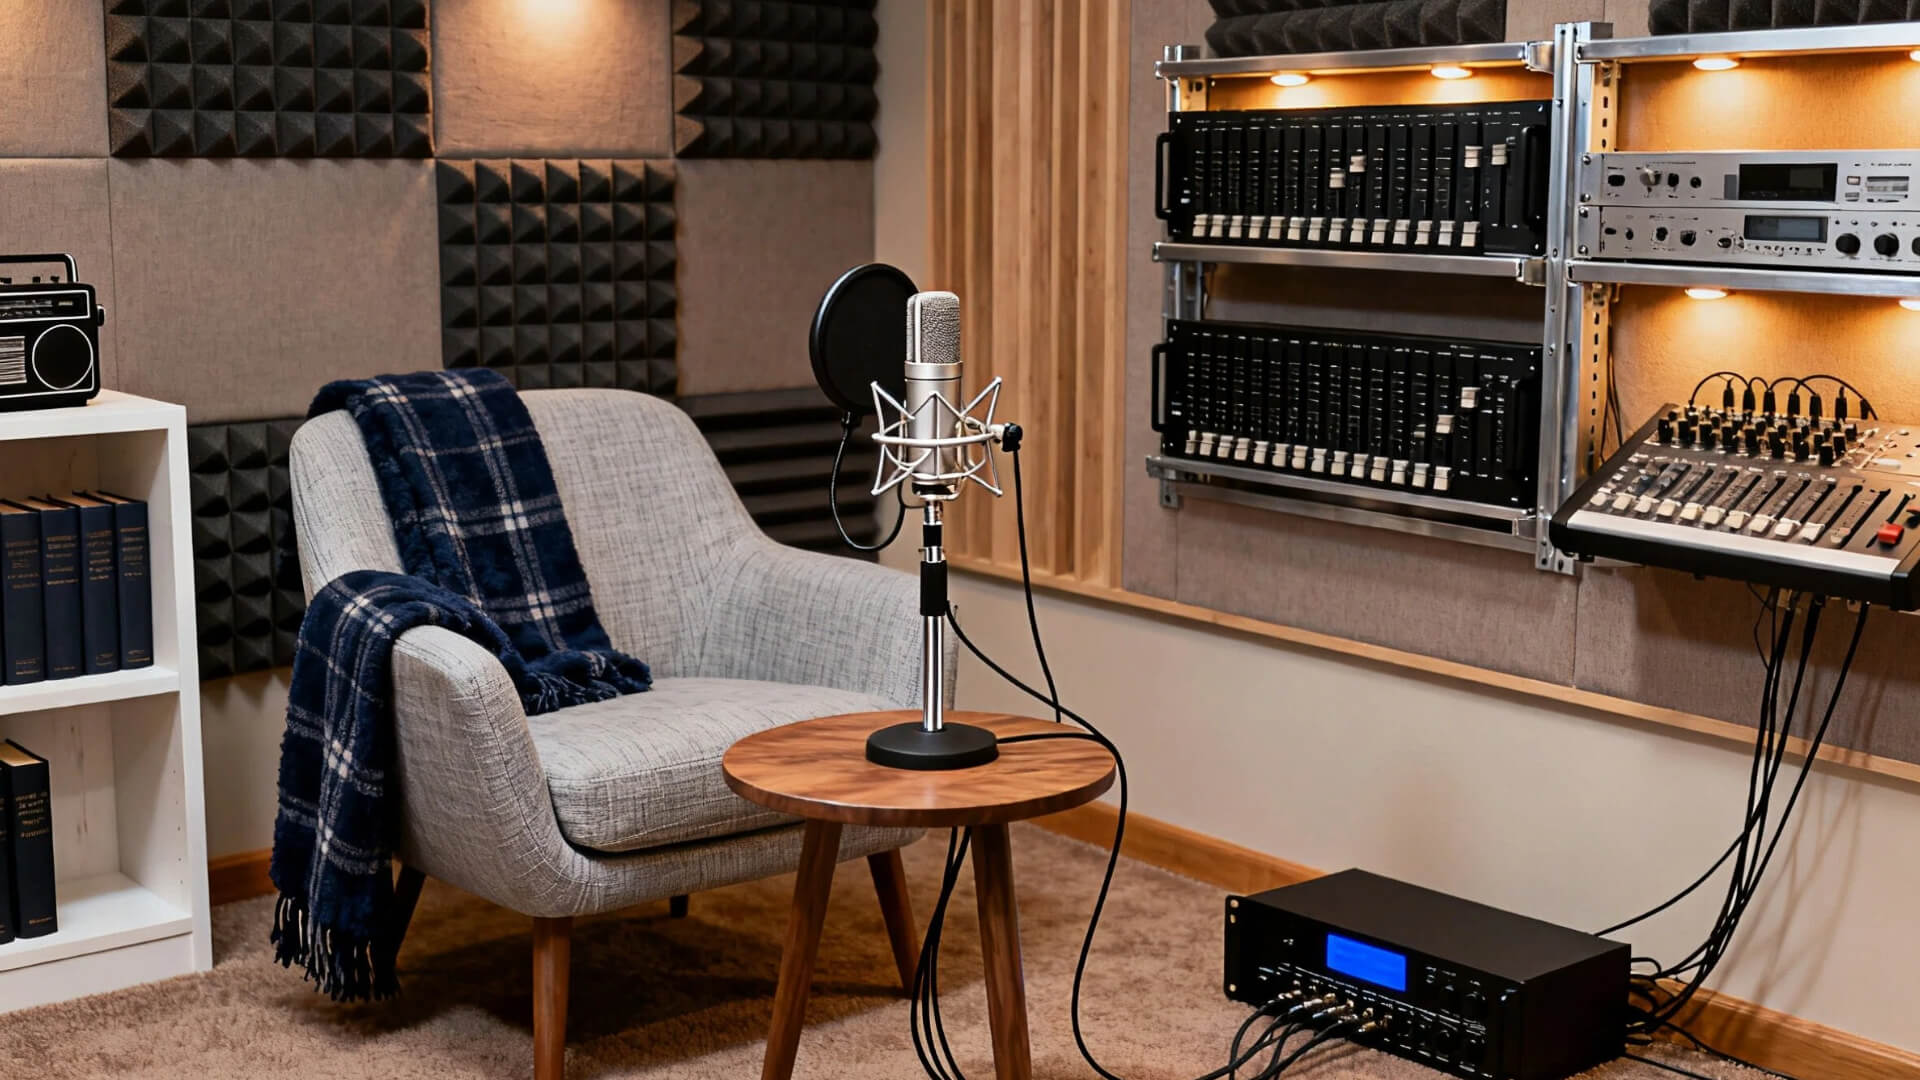
Room Preparation : Engineering Your Environment
Solo Podcaster Setup
- Ergonomics: Use a supportive chair and desk at elbow height
- Mic Position: One fist away from mouth, slightly off-center, on a boom arm
- Room Orientation: Face the longest wall to minimize reflections
- Workflow: Position monitor, mic, and chair in a comfortable triangle
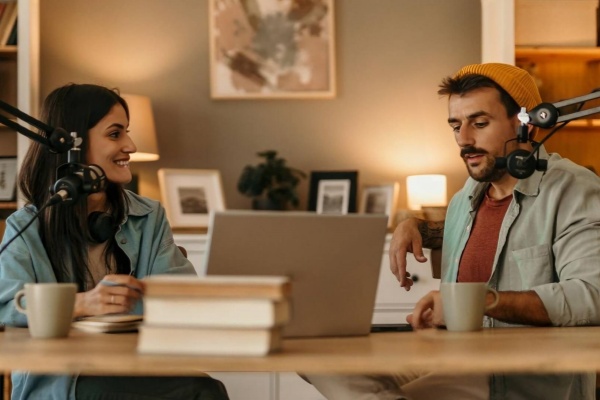
Multi-Person Podcast Setup
- Seating: Arrange in circle/semi-circle with equal mic distance
- Mics: Use dynamic cardioid mics to reduce crosstalk
- Sightlines: Ensure all participants can see each other naturally
- Lighting: Use soft, even lighting that covers all speakers
- Background: Maintain consistent, uncluttered visuals for camera
Gear Up: Picking Your Essential Equipment
Microphones: Dynamic vs. Condenser, USB vs. XLR
Picking a mic is simpler than it seems. Here’s what matters:
1. Dynamic vs. Condenser
- Dynamic Mics (like Shure SM7B): Tough, ignore background noise. Perfect for untreated rooms.
- Condenser Mics (like Rode NT1) : Capture every detail. Need a quiet, treated space.
2. USB vs. XLR
- USB: Plug and play. Easy start for beginners.
- XLR: Pro sound. Lets you upgrade gear over time.
Quick Pick Guide:
- Starting out? Get a USB dynamic mic
- Growing your show? Switch to XLR dynamic mics
- Have a studio? Consider a condenser mic
The right mic solves your specific recording situation. Choose what fits your space first, then upgrade as you grow.
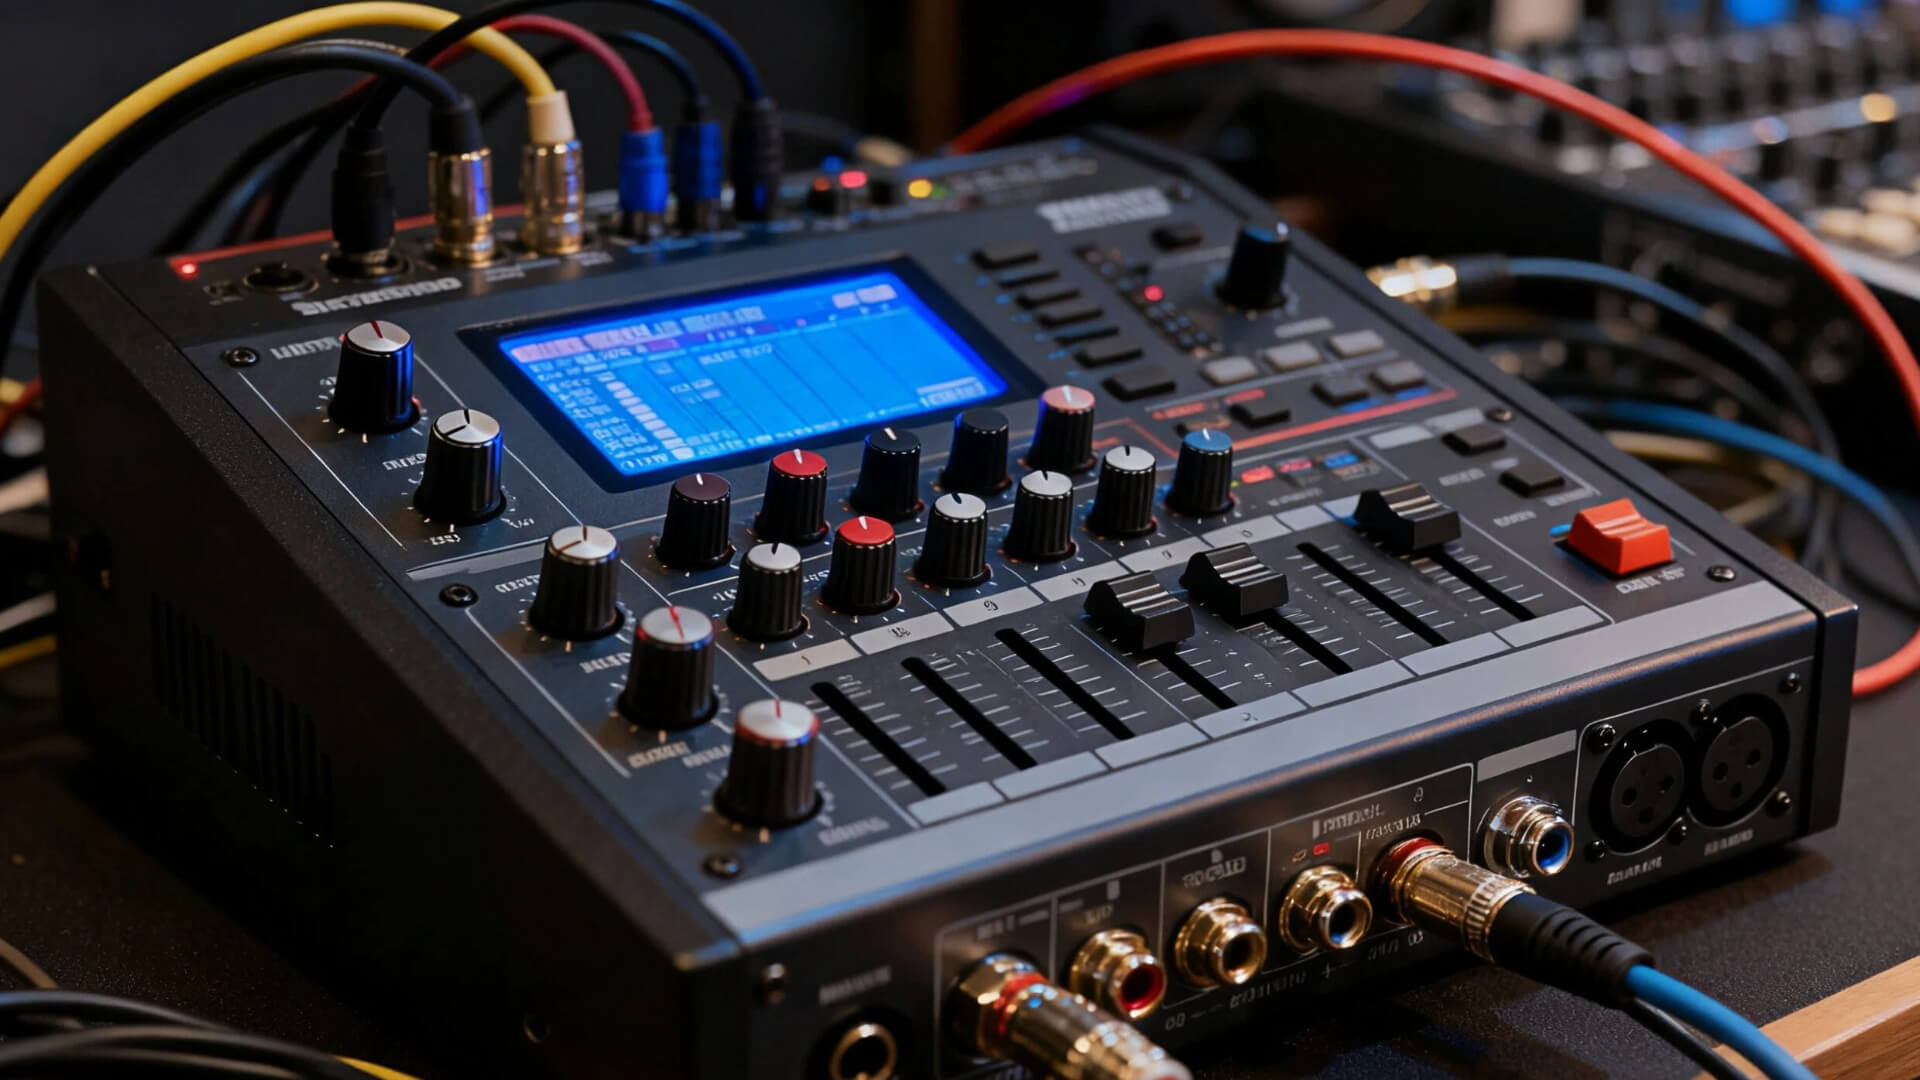
Audio Interfaces and Mixers For Clearer Sound
Let's talk about the brain of your podcast studio. If the microphone is your voice, the audio interface or mixer is what makes sure that voice is heard clearly.
Audio Interface: Your Essential Converter
Think of an audio interface as a high-quality translator. It takes the analog signal from your XLR microphone and converts it into a digital signal your computer can understand. Its two core jobs are:
- Signal Conversion: Transforming your voice into crystal-clear digital audio.
- Clean Preamp Power: Providing clean gain to boost your mic's signal without adding noise.
For most podcasters, a simple 2-input interface is the perfect starting point.
Mixers: For Control and Live Broadcasting
A mixer takes things further. It's for when you need to blend multiple audio sources in real-time.
- Core Function: Live mixing of mics, music, and sound effects. Ideal for live streaming or recording multiple people locally.
- Analog vs. Digital:
- Analog Mixers: Hands-on, intuitive knobs for each function. Often more straightforward but less flexible.
- Digital Mixers: More powerful, offering features like built-in effects, USB connectivity, and scene memory. Steeper learning curve.
The Simple Choice: Start with an Interface
Unless you're doing live shows or need to mix multiple sources on the fly, you don't need a mixer. A quality audio interface is the smartest first investment for superior sound and a solid foundation for your podcast. If you don‘t know what to buy, The Focusrite Scarlett 2i2 is the perfect partner - it cleanly powers your mic and gets your voice into the computer with professional results.
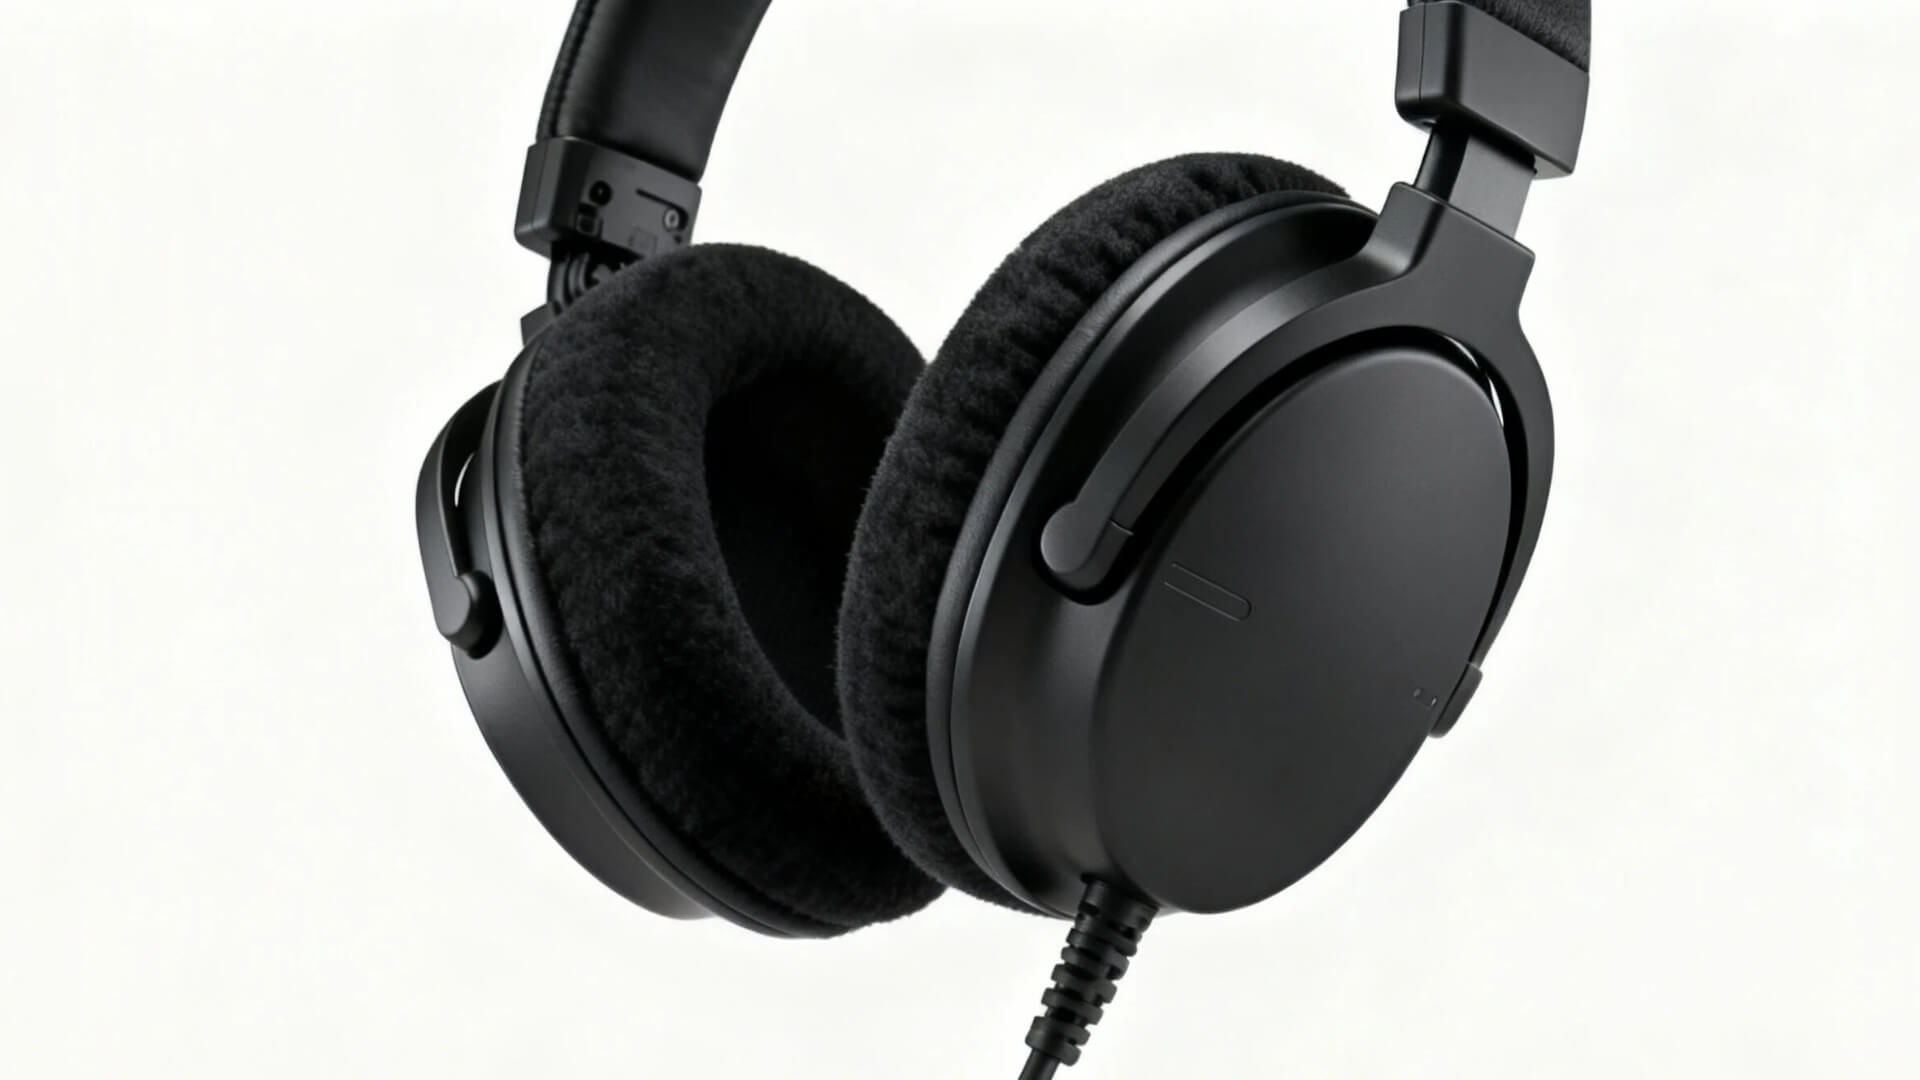
Headphones and Monitoring
Things you need to know:
- Choose closed-back headphones for recording - prevents sound leakage into your mic
- Avoid open-back headphones while recording (they leak sound)
- Wear one earcup while recording to monitor audio + stay aware of your surroundings
- Studio headphones reveal true audio details: plosives, background noise, and room echo
If you're looking for a reliable pair, here are proven options:
- Entry-Level: Audio-Technica ATH-M20x
- Mid-Range: Audio-Technica ATH-M50x
- Pro-Grade: Beyerdynamic DT 770 Pro (80 ohm)
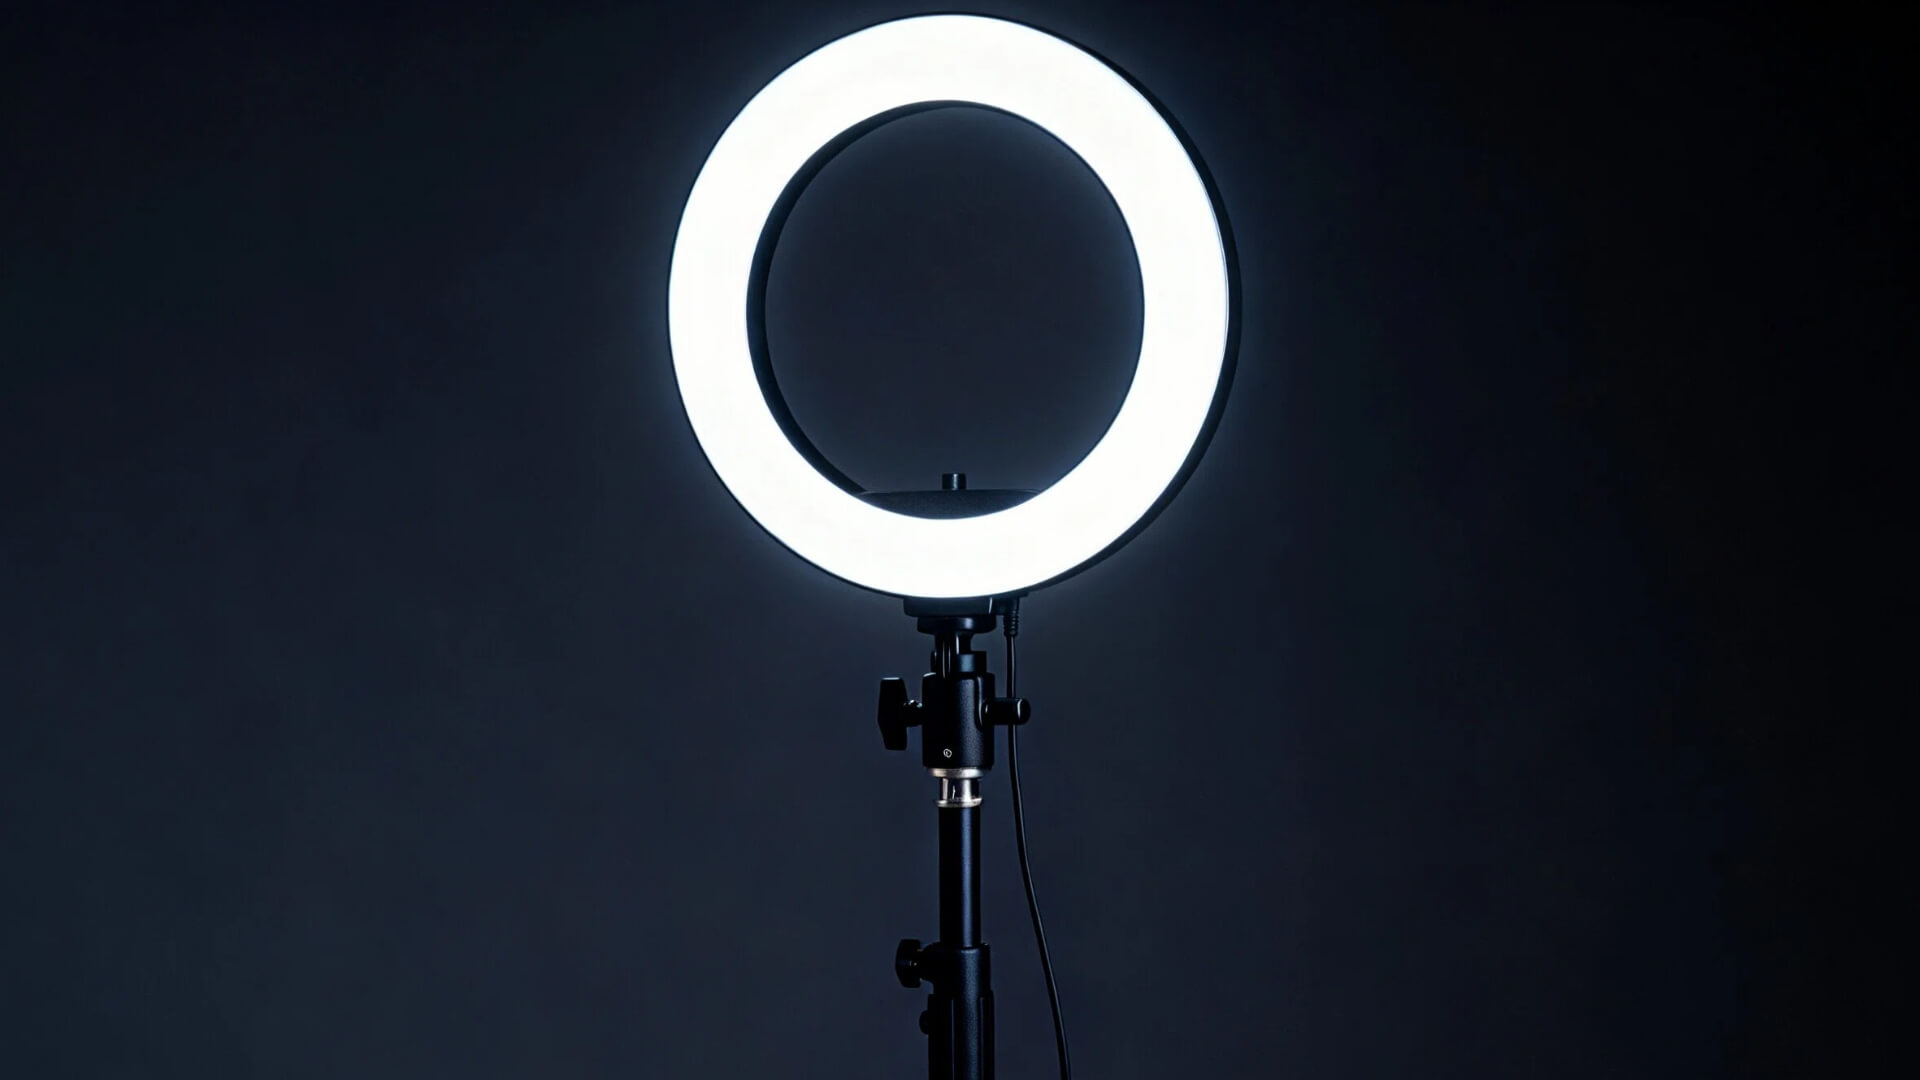
Cameras and Lighting for Video Podcasts
If you're adding video, your gear needs a slight upgrade. The good news? You don't need a Hollywood budget.
- Camera Choices: Start with a high-quality webcam like the Logitech C920s. For better quality, a mirrorless camera like the Sony ZV-1 is excellent for video.
- Lighting Basics: This is more important than your camera! Learn the three-point lighting setup. A simple, affordable LED panel light from Neewer( buy on B&H Photo ) is a fantastic starting point that makes you look professional instantly.
- Framing & Background: Use the rule of thirds to frame your shot. Keep your background simple, tidy, and consistent with your podcast's brand.
Recording and Editing Software
Let's talk about the software that will bring your podcast to life. Don't stress—there's a perfect option for every level.
- Free & Beginner-Friendly: Just starting out? Audacity is a free, powerful tool for basic recording and editing. Mac users have GarageBand built-in, which is incredibly intuitive. These are perfect for learning the ropes without spending a dime.
- Intermediate & Pro Power: When you're ready to level up, you have options. Reaper is famously powerful and cost-effective. For Mac users, Logic Pro offers incredible value. Think about your budget and how deep you want to go.
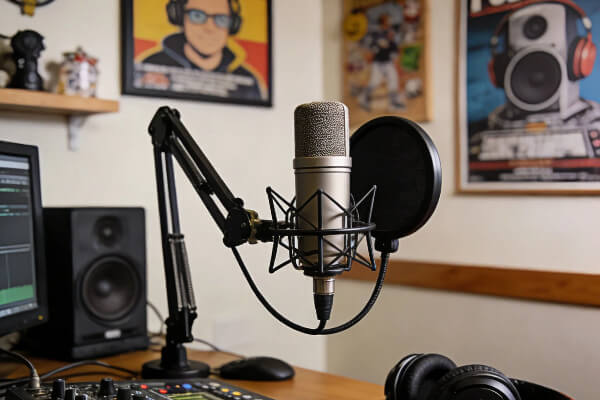
Essential Accessories (Pop Filter, Boom Arm, etc.)
These small items make a huge difference in quality and convenience.
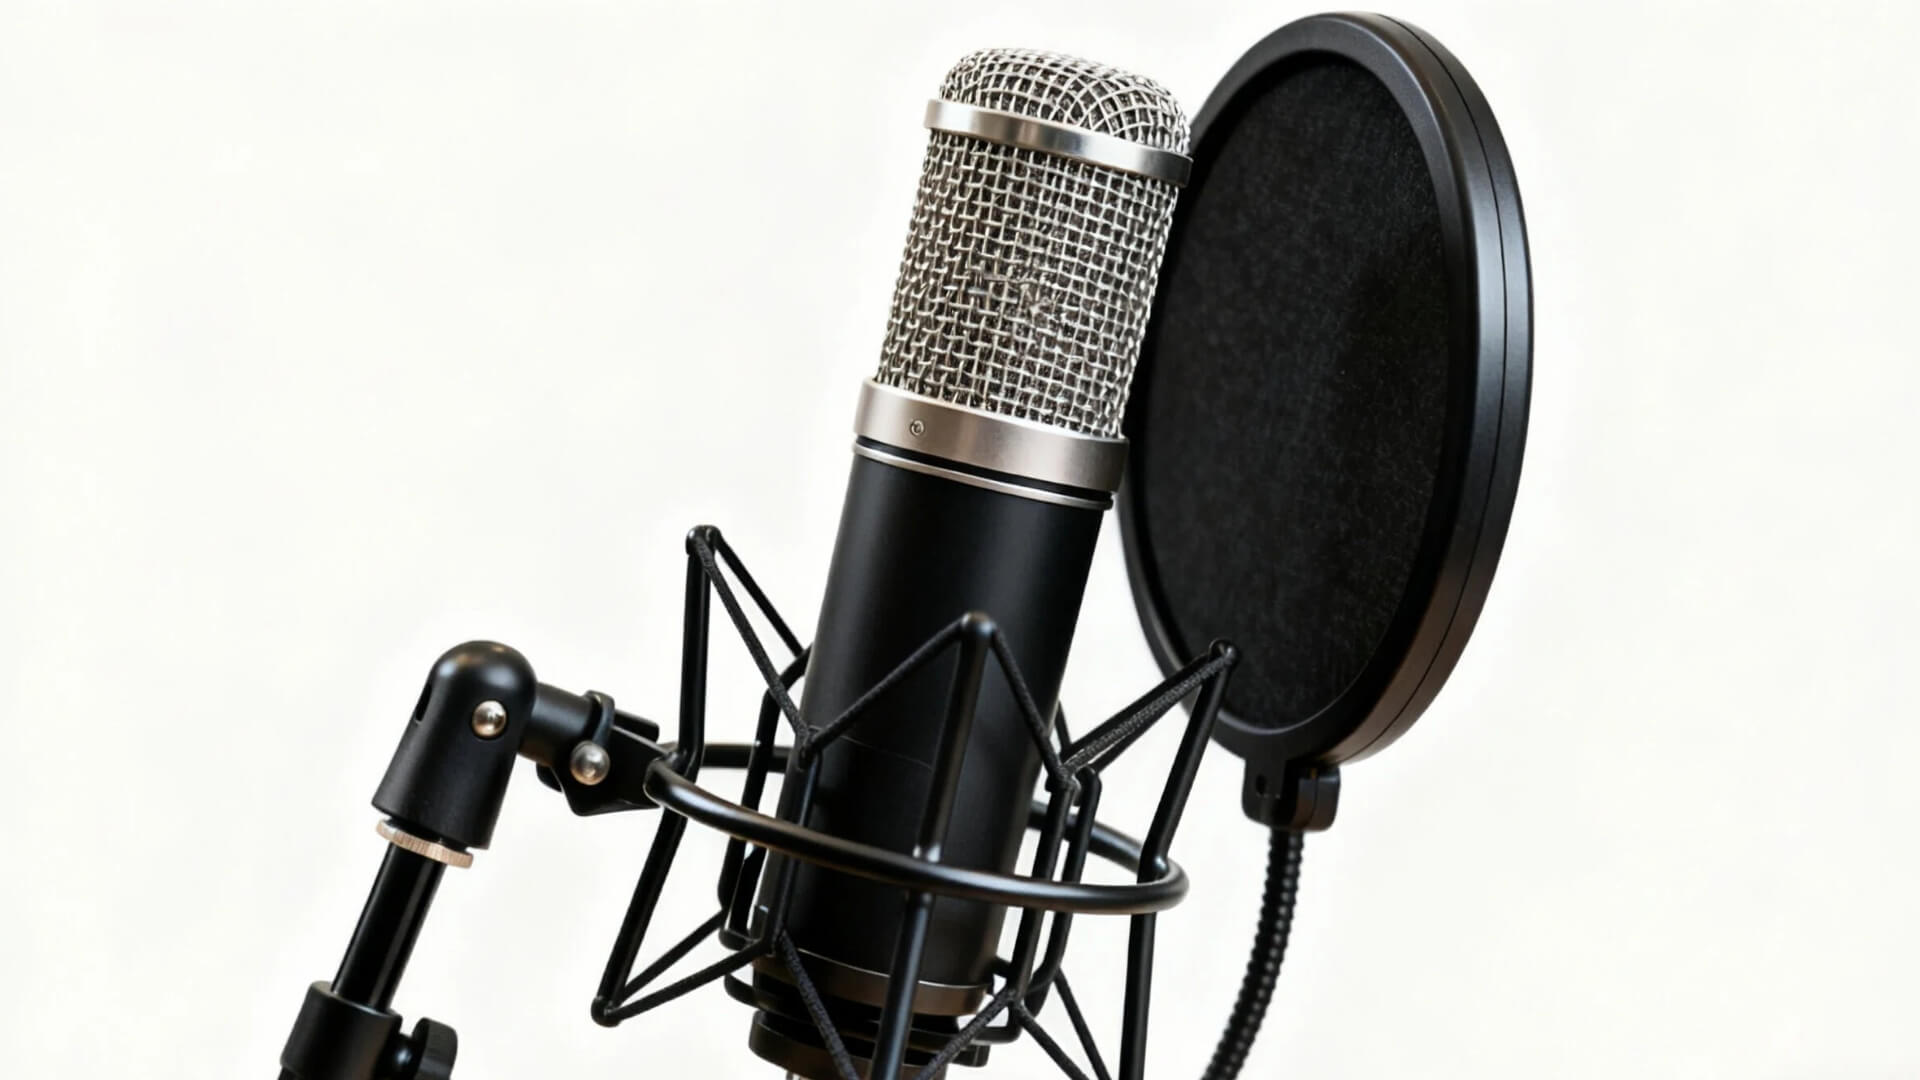
- Pop Filter: A must-have. It goes between you and the mic to eliminate harsh "p" and "b" sounds.
- Boom Arm: A flexible stand that holds your mic. It frees up desk space and allows for perfect positioning.
- Shock Mount: This cradle holds your microphone and isolates it from desk bumps and floor vibrations, ensuring only your voice is recorded.
If you want to learn more detailed knowledge about podcast equipment, you can check out this article: What Equipment Is Needed for a Podcast.
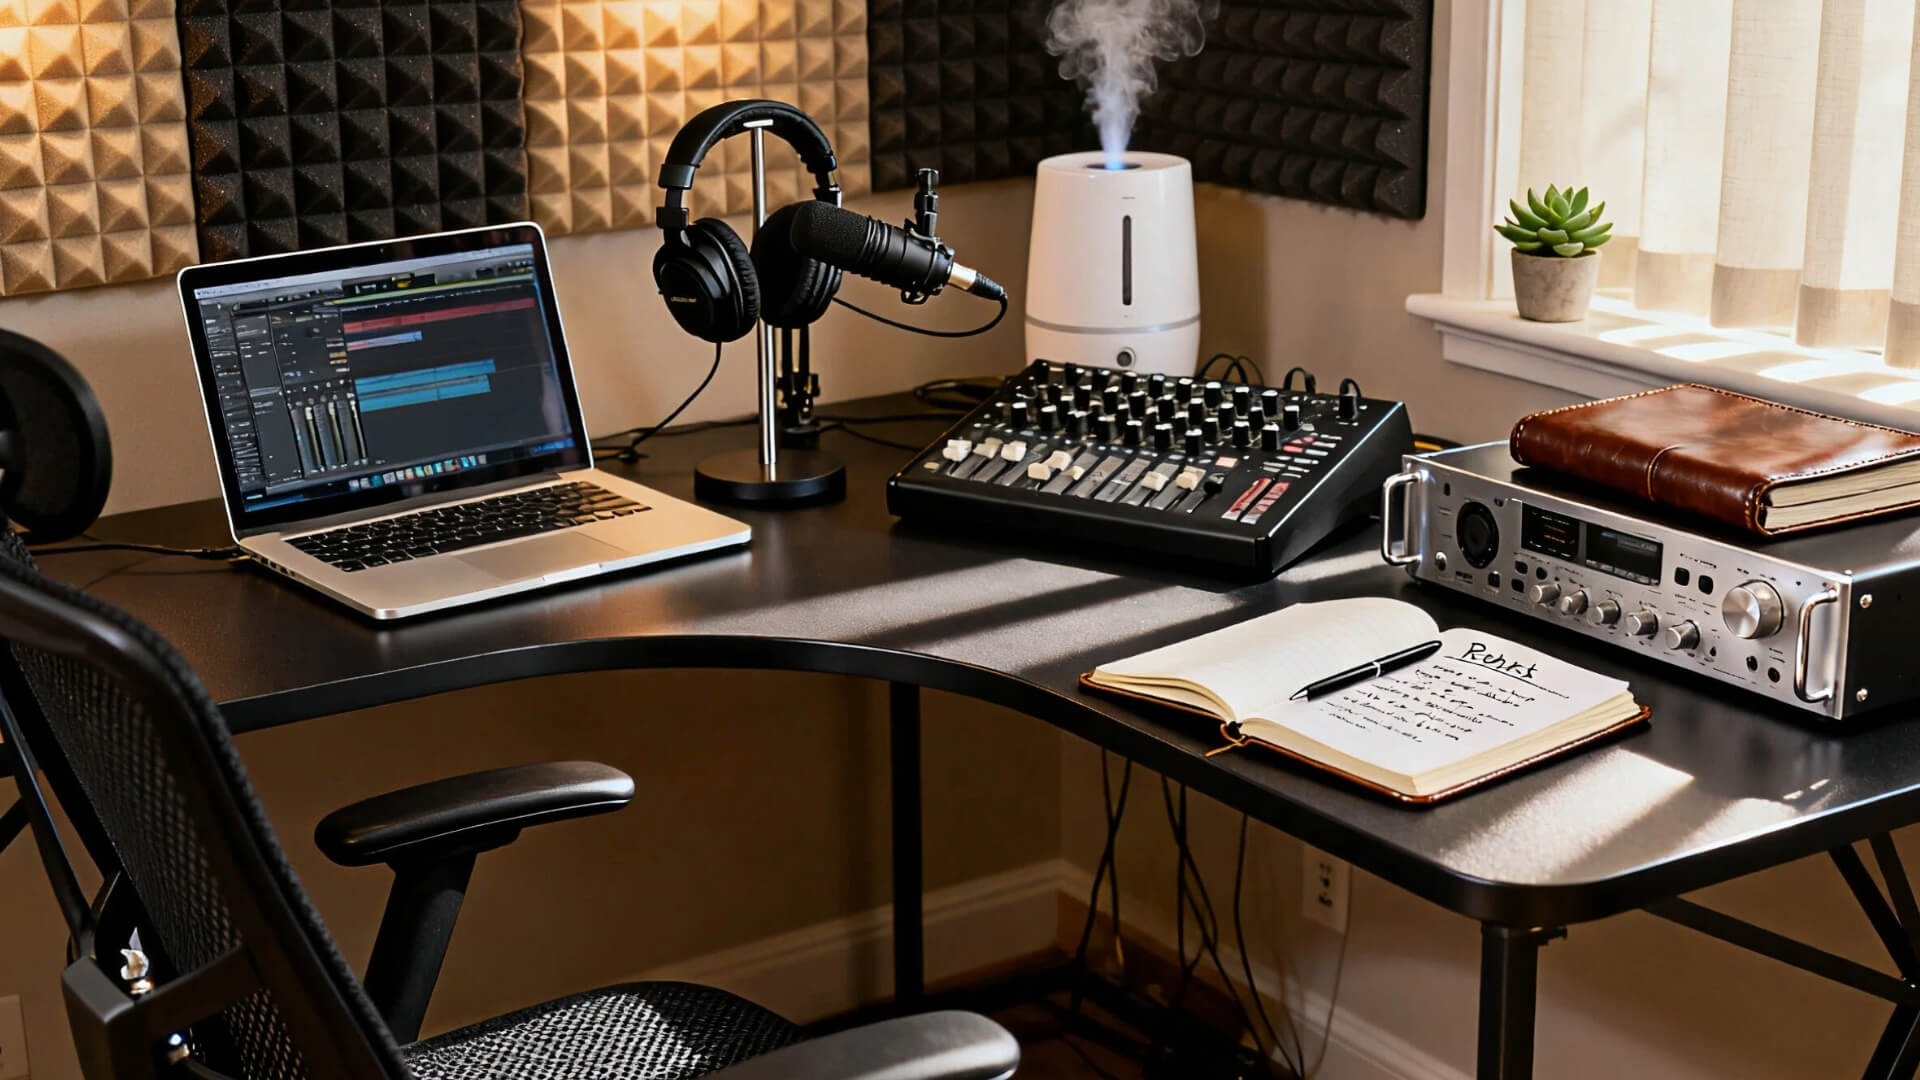
Next Steps - Integration & Testing
Your gear is ready. Now let's set it up right and make sure everything works perfectly.
- Microphone: Place a fist's distance from your mouth, slightly off-axis. Use a boom arm to avoid desk reflections.
- Monitors/Headphones: Position monitors in an equilateral triangle with your head. Use closed-back headphones to prevent sound leakage.
- Cables: Keep power and audio cables separate. Use velcro straps or sleeves to manage clutter and prevent interference.
Lighting and Camera Setup
- Lighting: Set your key light in front and above you. Use a fill light to soften shadows. A back light helps separate you from the background.
- Camera: Position the lens at eye level or slightly higher. Always use a tripod for a stable, professional shot.
Software Installation and Configuration
- Install the correct drivers for your audio interface.
- In your DAW, select your interface as the input/output device.
- Set your sample rate (48kHz) and adjust the buffer size (128-256 samples) for low-latency recording.
- Create a session template with your tracks and settings to save time.
Testing Your Studio Setup
- Record a test: Speak at various volumes (whisper, conversation, projection). Listen for:
- Hiss/Buzz: Check gain levels and cables.
- Pops/Clicks: Reposition mic or pop filter.
- Echo: Add more acoustic treatment.
- Troubleshoot Common Issues:
- Noise Floor Too High: Lower the gain, check power sources.
- Audio Dropouts: Increase buffer size, check USB connection.
- Echo: Add acoustic panels, rugs, or curtains.
Run these tests until your recordings sound clean and clear. Then, you're ready to record
Setting Up for Remote Guests and Live Streaming
- Remote Guest Tools: For the highest quality remote recordings, use services like Riverside.fm or Zencastr, which record each participant's audio and video locally before combining them. This avoids internet dropouts ruining your audio.
- Live Streaming Setup: Use the free and powerful OBS Studio to bring everything together. You can add your camera feed, microphone audio, guest video calls, and graphics into one stream for platforms like YouTube or Twitch.
Level Up: AI Tools That Save Your Podcast Audio
Great gear doesn't guarantee perfect audio at home. That lingering echo, the neighbor's lawnmower, your computer fan—they always sneak into your recording.
This is where AI tools change the game. For cleaning up existing audio, tools like iZotope RX works like magic, surgically removing background noise while keeping your voice clear.
But here's the real breakthrough: you can now create perfect audio from scratch. With AIPodify, just type your script and generate professional voiceovers in any voice style—ideal for ads or multi-character segments, no mic needed.
Sometimes the smartest upgrade isn't more gear, but smarter tools that work with your space.
Keep Your Podcast Running Smoothly
A little care goes a long way in keeping your podcast sounding professional.
Basic Maintenance
- After each use: Cover your microphone and wipe down the pop filter
- Monthly: Check cable connections, backup your files, and update your software
When to Upgrade
Upgrade when you notice:
- Your quality has plateaued
- Your gear can't support new formats
- Equipment becomes unreliable
Smart upgrade order: Microphone → Audio interface → Room treatment → Monitoring
Quick Troubleshooting
Always start with the basics:
- Check power and connections
- Verify software settings
- Restart your equipment
Common issues:
- No sound: Check input selection and gain levels
- Buzzing: Separate power cables from audio cables
- Sync issues: Record at consistent sample rates and use a clap to sync
Keep it simple - most problems have simple solutions!
Conclusion
Congrats! You started with three big challenges: gear, acoustics, and budget. But now you've made it through the essentials. Starting a podcast might seem complex, but remember this simple philosophy: Start with your needs, build with a plan, refine the details, and maintain for the long run.
Your journey to launch starts now. Here’s your clear, 6-step action plan:
- Define Your 'Why' & Budget: Nail down your format and set a realistic budget.
- Claim Your Space: Choose and prepare your recording room.
- Gear Up Smartly: Buy your core gear (mic, interface, headphones).
- Tame Your Sound: Implement basic acoustic treatment.
- Test Your Setup: Record and listen back, then adjust.
- Hit Record: Stop preparing and just launch your first episode.
You're ready. Go create something amazing.
How to Start and Grow a Successful Podcast in 2026: The Ultimate Actionable Guide
The number of podcasts keeps growing. It might seem like a blue ocean of opportunity, but once you start, you realize the competition is fiercer than imagined. Many shows vanish before even hitting 7 episodes. Why? People often stumble at the start. Some invest in pro gear but have no content plan. Others focus solely on production but ignore promotion. Some try to go it alone and quickly get overwhelmed by the workload. These issues show many beginners lack clear planning and systematic preparation. That's why we've created this guide. We'll walk you through the key steps to build a successful podcast.
The Ultimate Guide on How to Grow Your Podcast Audience
Does this sound familiar? You spend days prepping, recording, and editing your latest episode. You finally hit "publish" and sit back, waiting for the numbers to climb. But four weeks later? You’re still staring at a download count that barely hits double digits.