What Equipment Is Needed for a Podcast? A Complete Beginner’s Guid
Podcasting is accessible, but great ideas still need great sound to truly connect. The gear you choose directly shapes audio clarity, consistency, and how professional your show feels. Clear vocals, low noise, and stable levels keep listeners engaged—and the right tools make that achievable from day one.
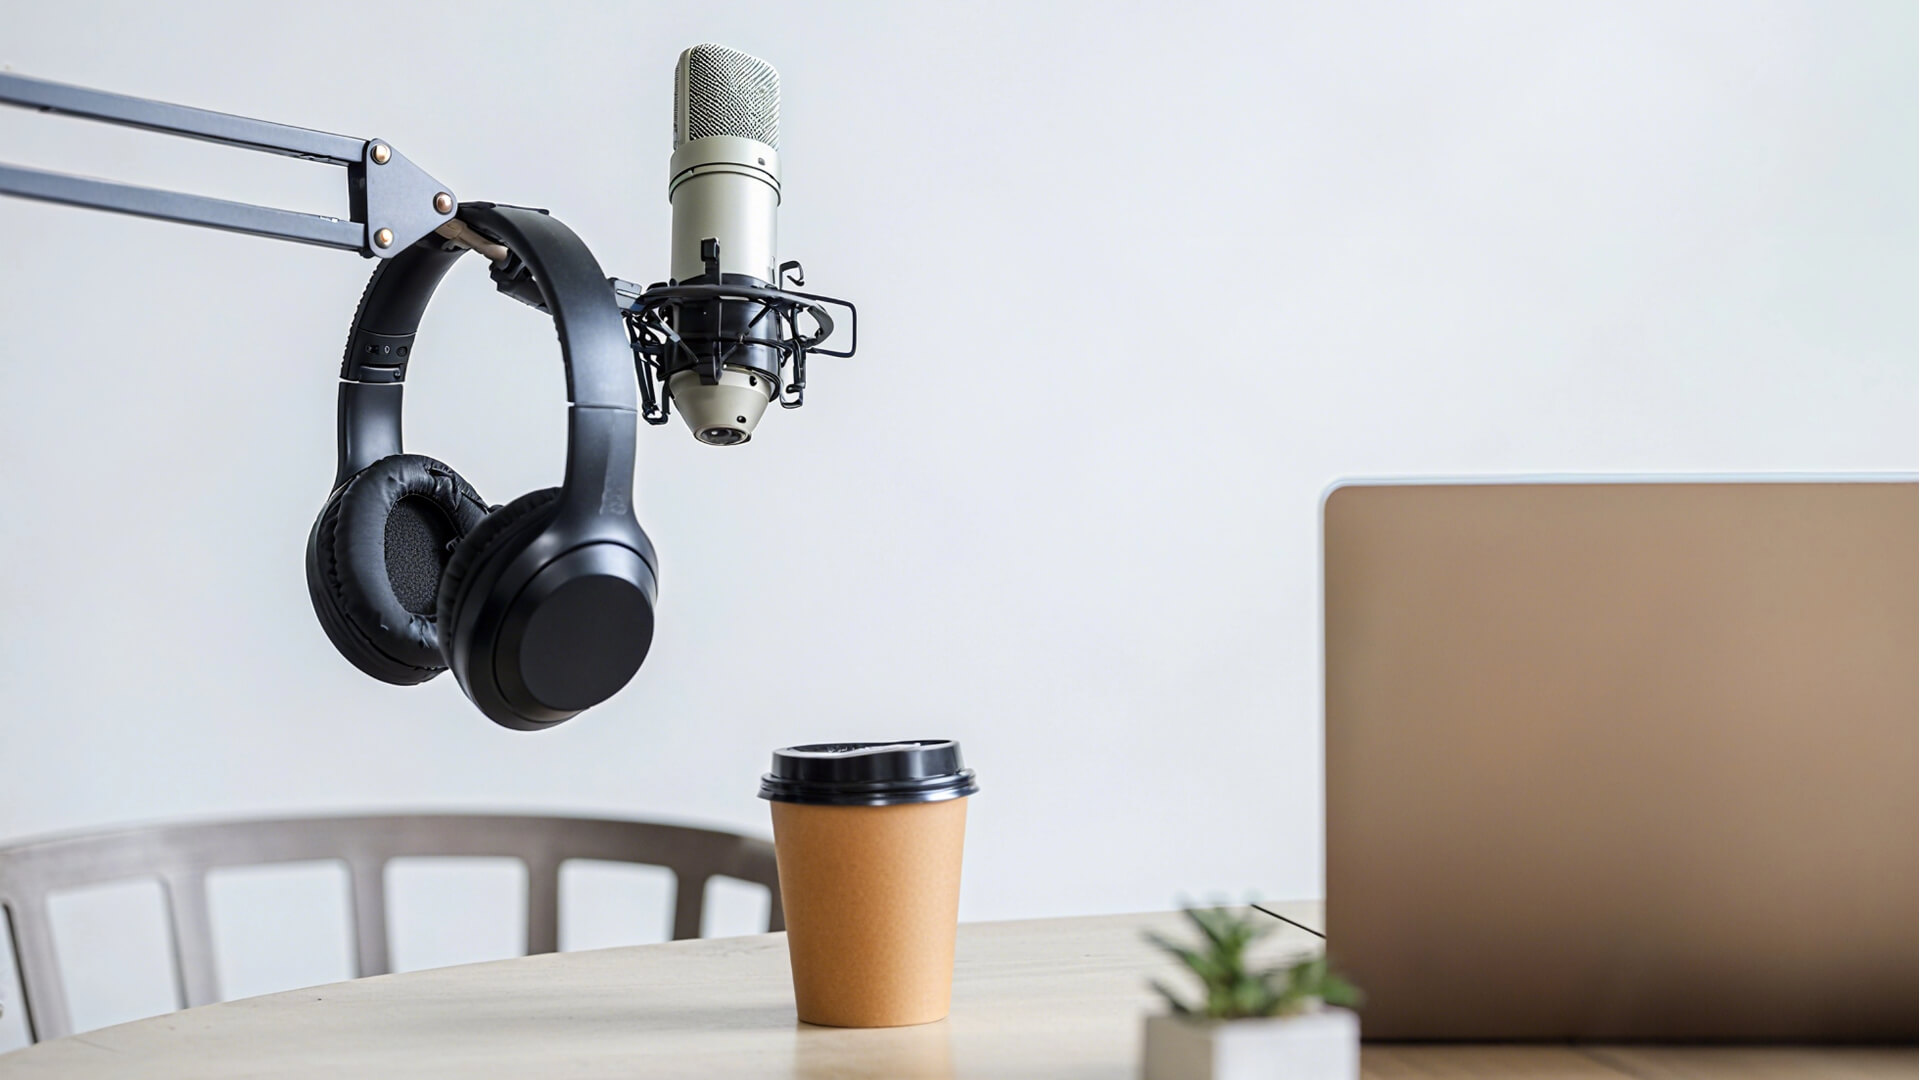
You don’t need to overspend to begin. Start with a simple, reliable base: a decent microphone, closed‑back headphones, and a computer (or audio interface if using XLR). This cuts down on fix-it-in-post headaches and lets you focus on content. As your format expands—more guests, remote interviews, or video—upgrade deliberately and build on that solid foundation.
Core Podcast Equipment (Must-Haves)
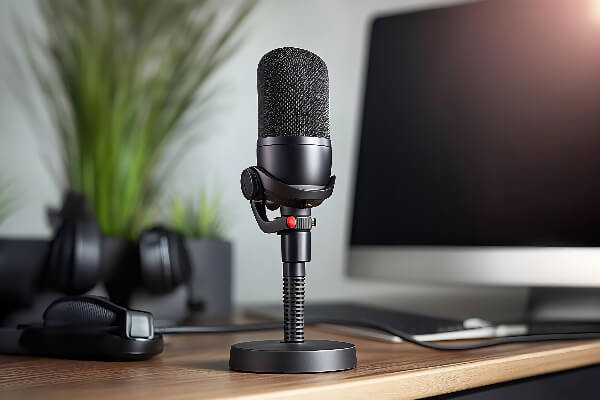
Microphones
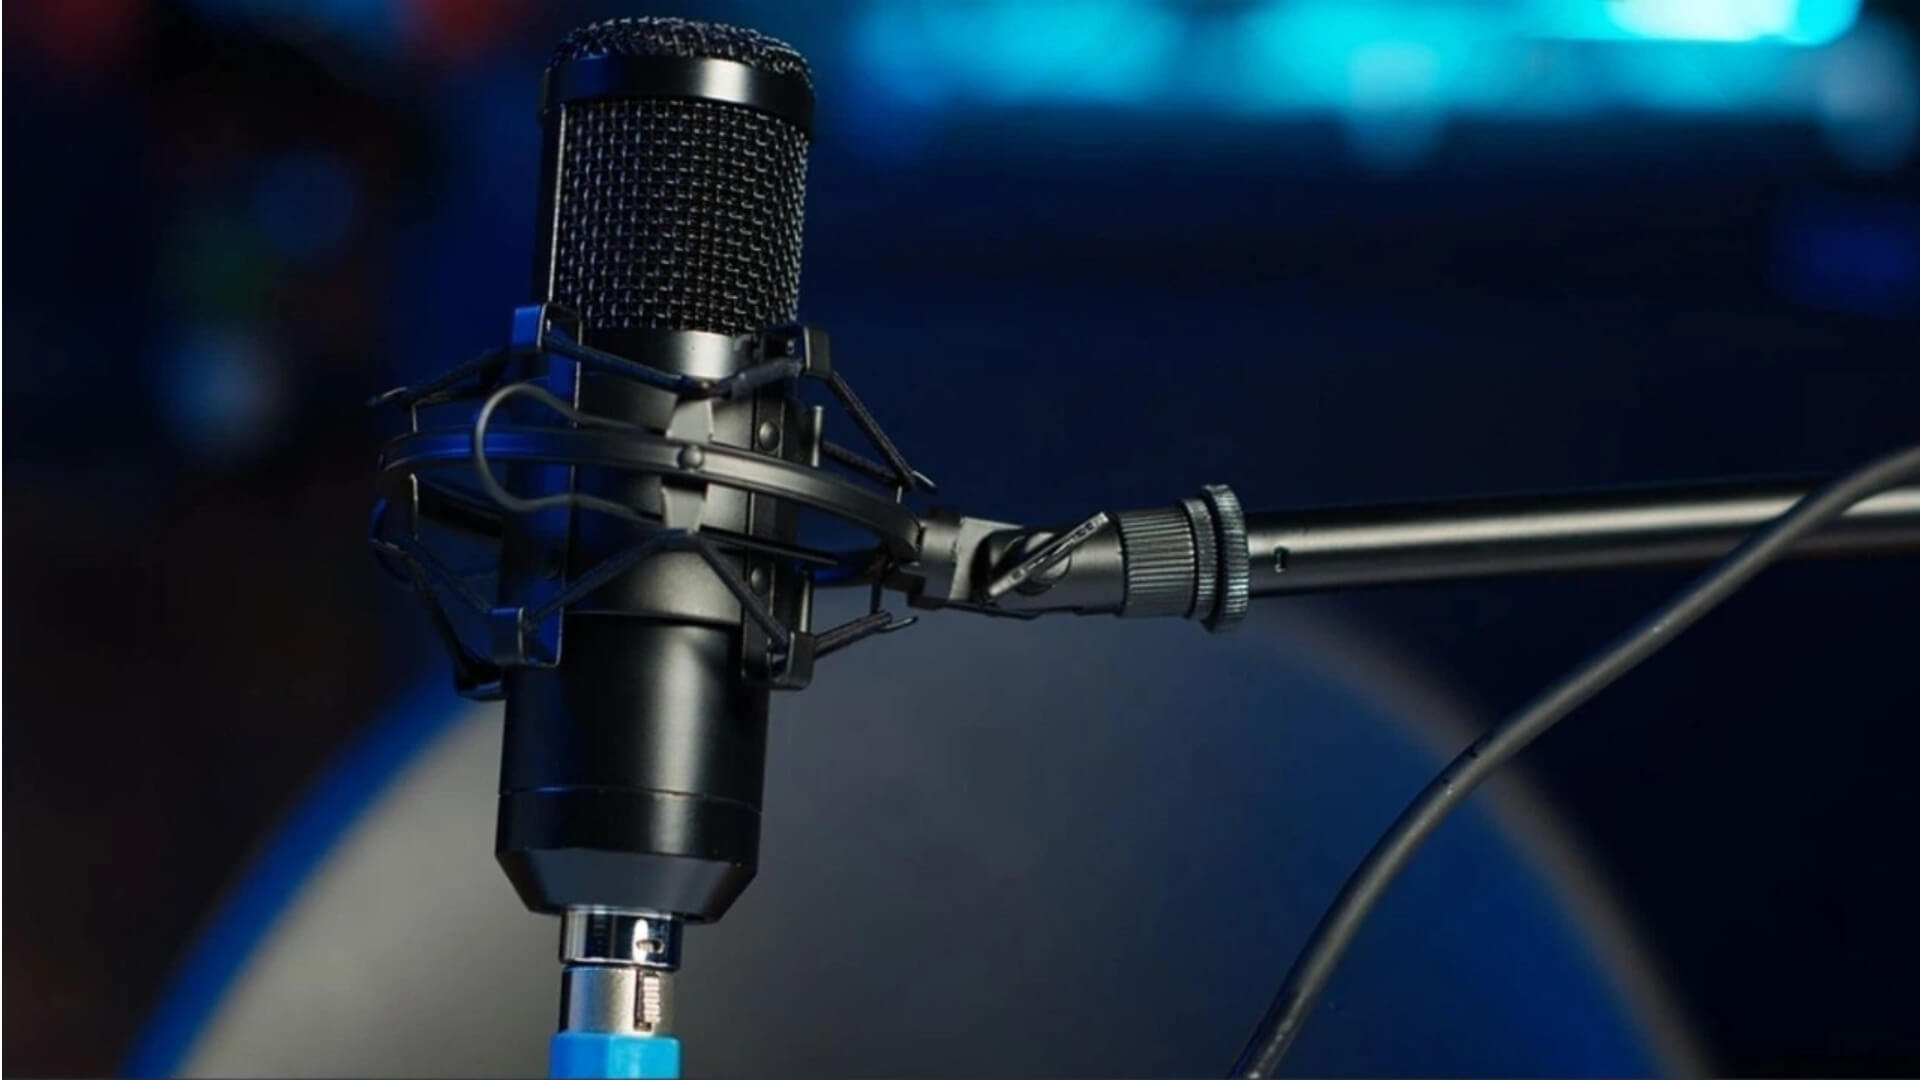
Your microphone is the single most important piece of podcast gear. USB microphones are plug‑and‑play and ideal for beginners or solo setups—just connect to your computer and record. XLR microphones offer better control and scalability (higher‑quality preamps, multi‑mic setups, outboard processing) but require an audio interface or mixer. For most home or office environments, dynamic mics are more forgiving—they reject background noise and handle close speech well. Condenser mics capture more detail and “air,” but they shine in quiet, acoustically treated rooms and can be more sensitive to room noise and plosives. A cardioid pickup pattern is usually the safest choice to focus on your voice.
Headphones
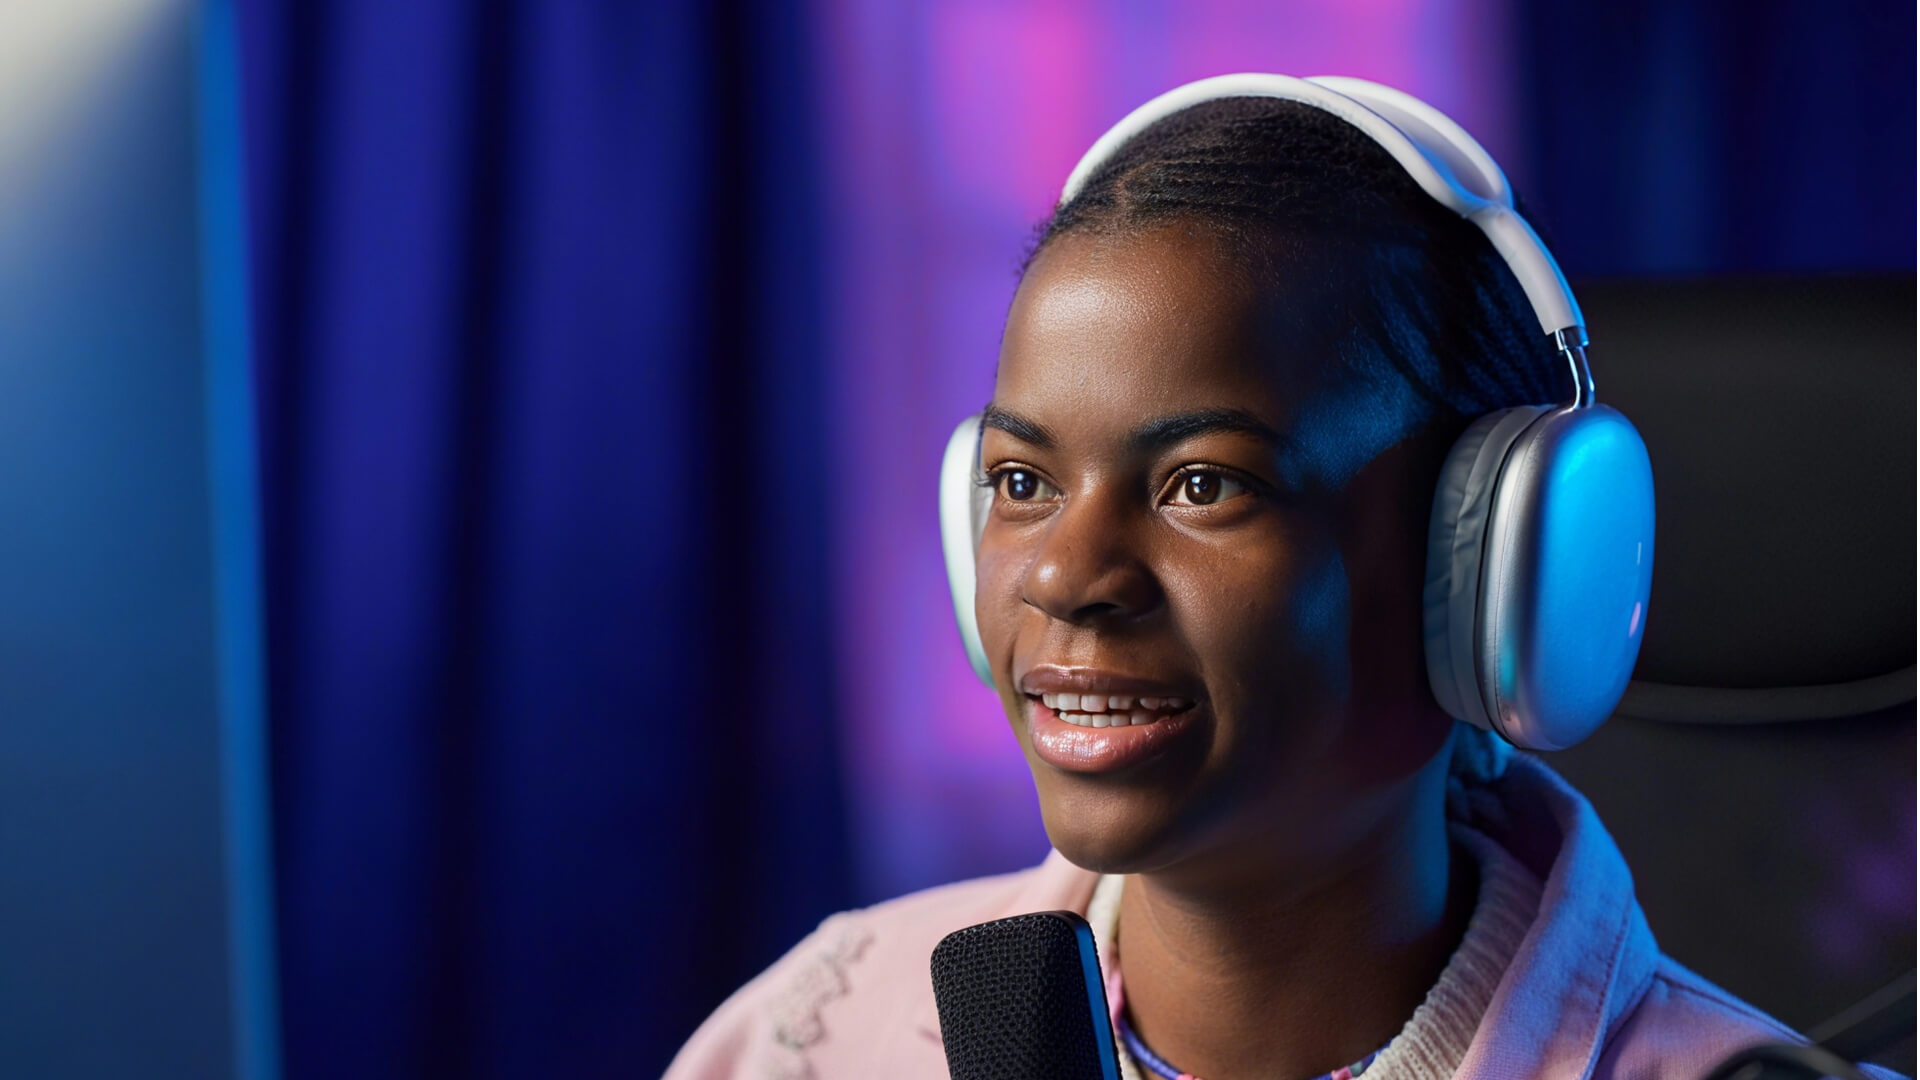
Use closed‑back or in‑ear headphones to monitor while recording and editing. They prevent sound from leaking back into the mic and help you catch issues early—clipping, hum, plosives, or inconsistent mic distance. Comfort matters for longer sessions; choose a pair you can wear for an hour or more without fatigue.
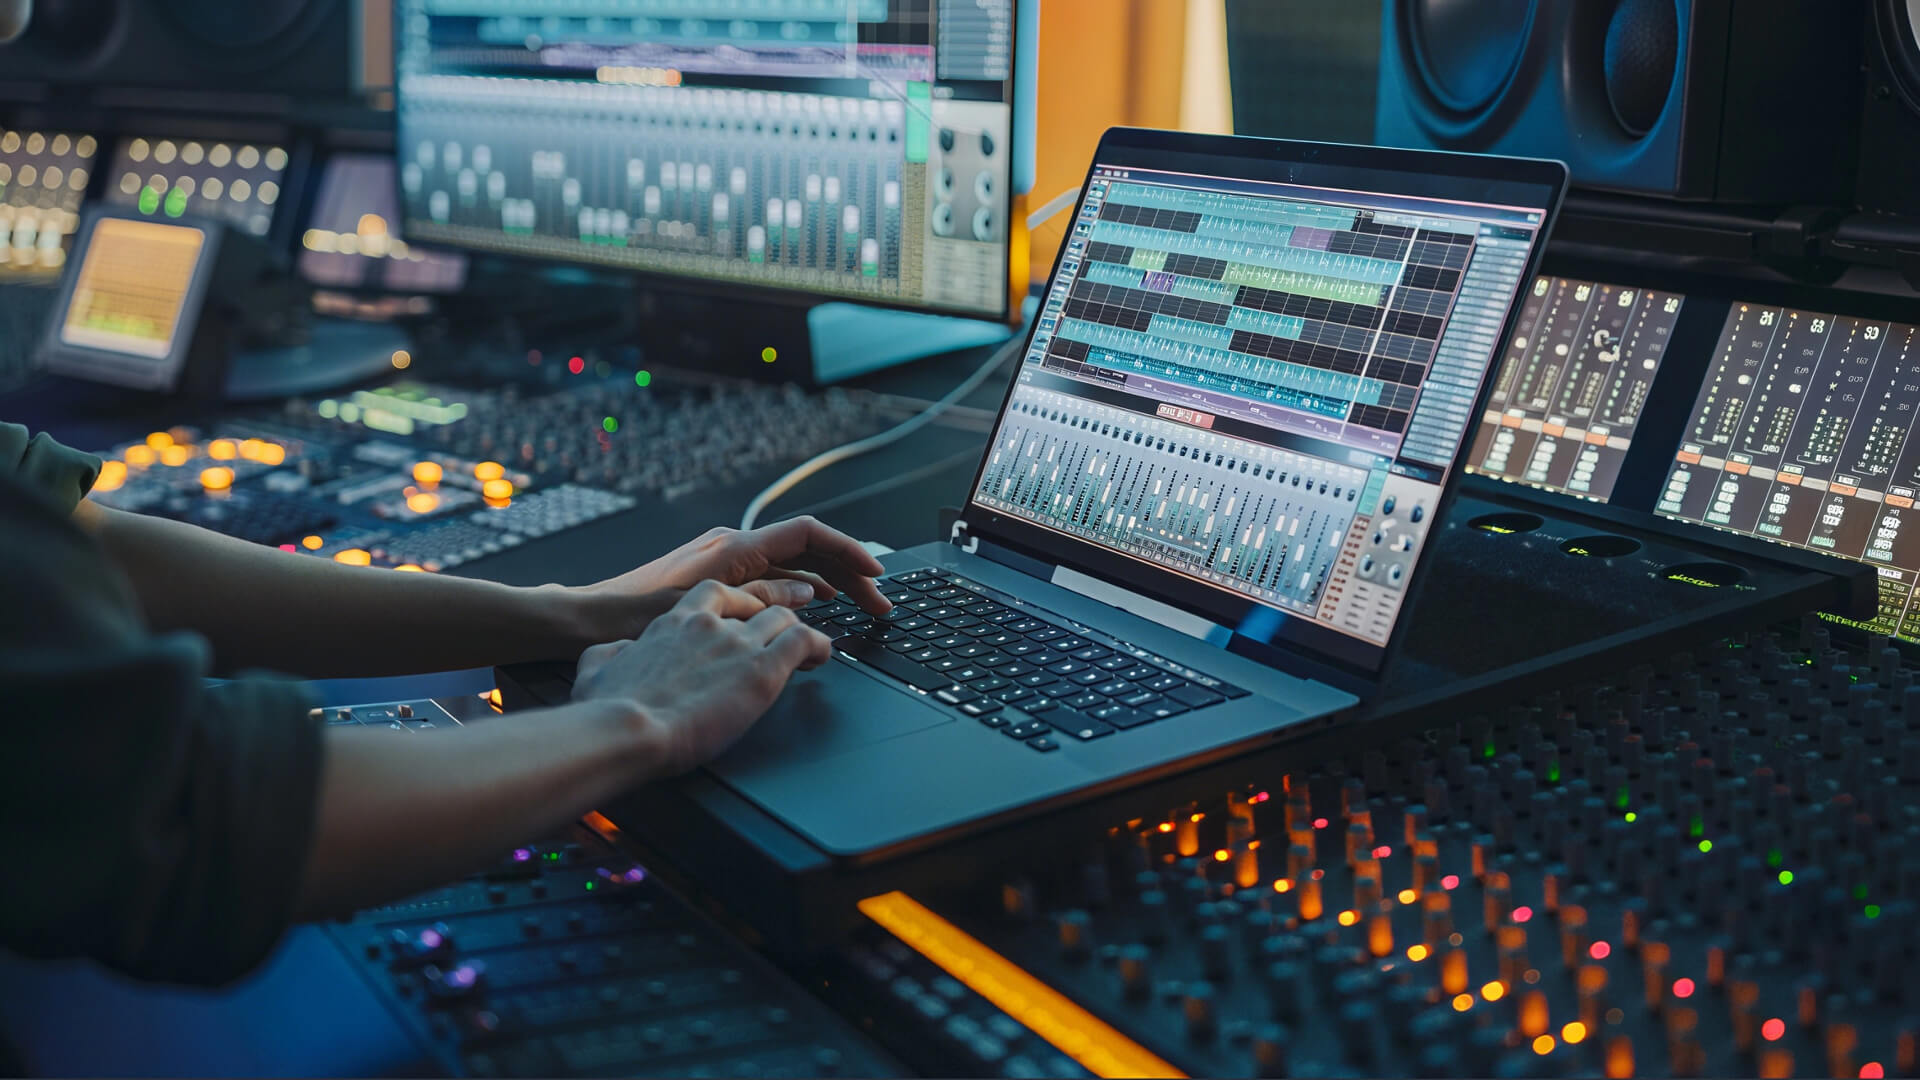
Recording Device
A modern computer or laptop is the standard hub for recording and editing, offering full control with your preferred DAW. Ensure you have stable power, enough ports, and sufficient SSD storage. If you’re using XLR microphones, add an audio interface or mixer for clean gain, phantom power (for condensers), and multiple inputs. A smartphone can work as a starter or backup on the go, but it offers less routing, monitoring, and editing control compared to a computer.
Supporting Equipment for Better Recording
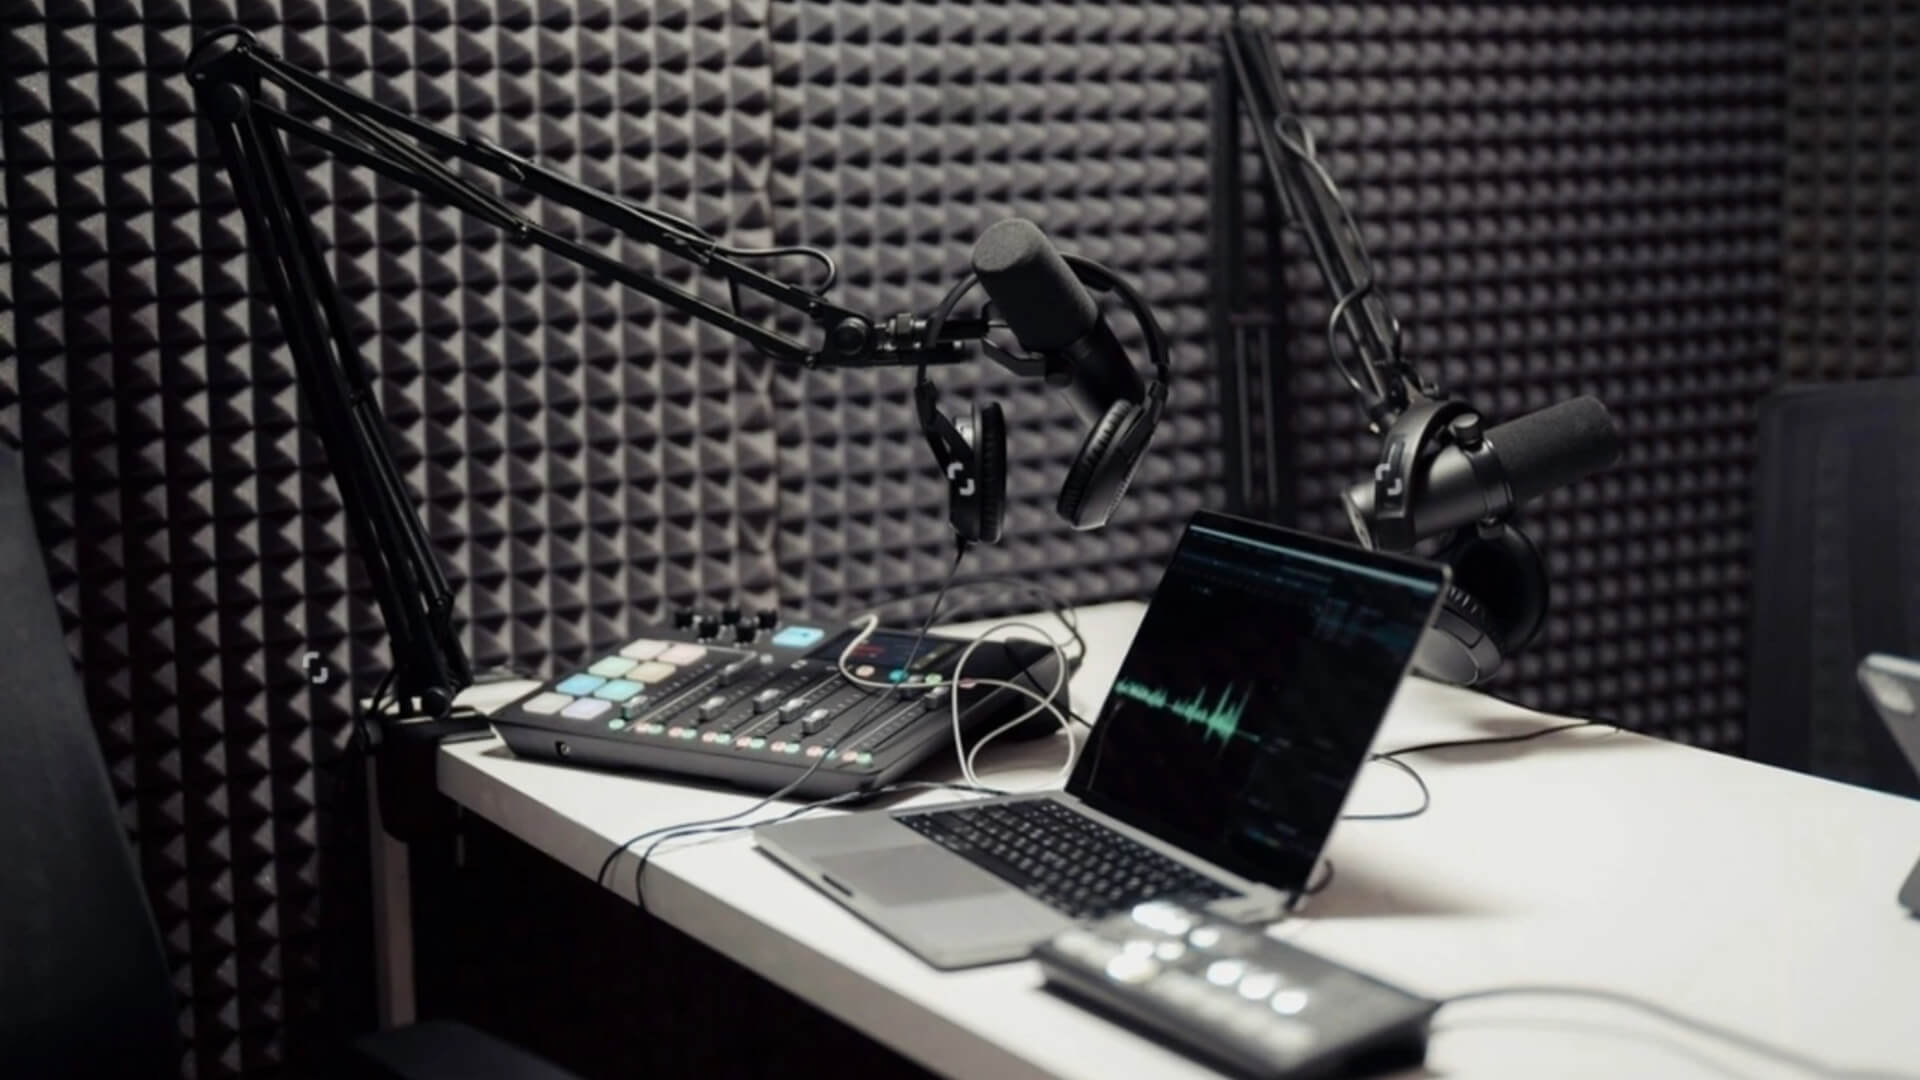
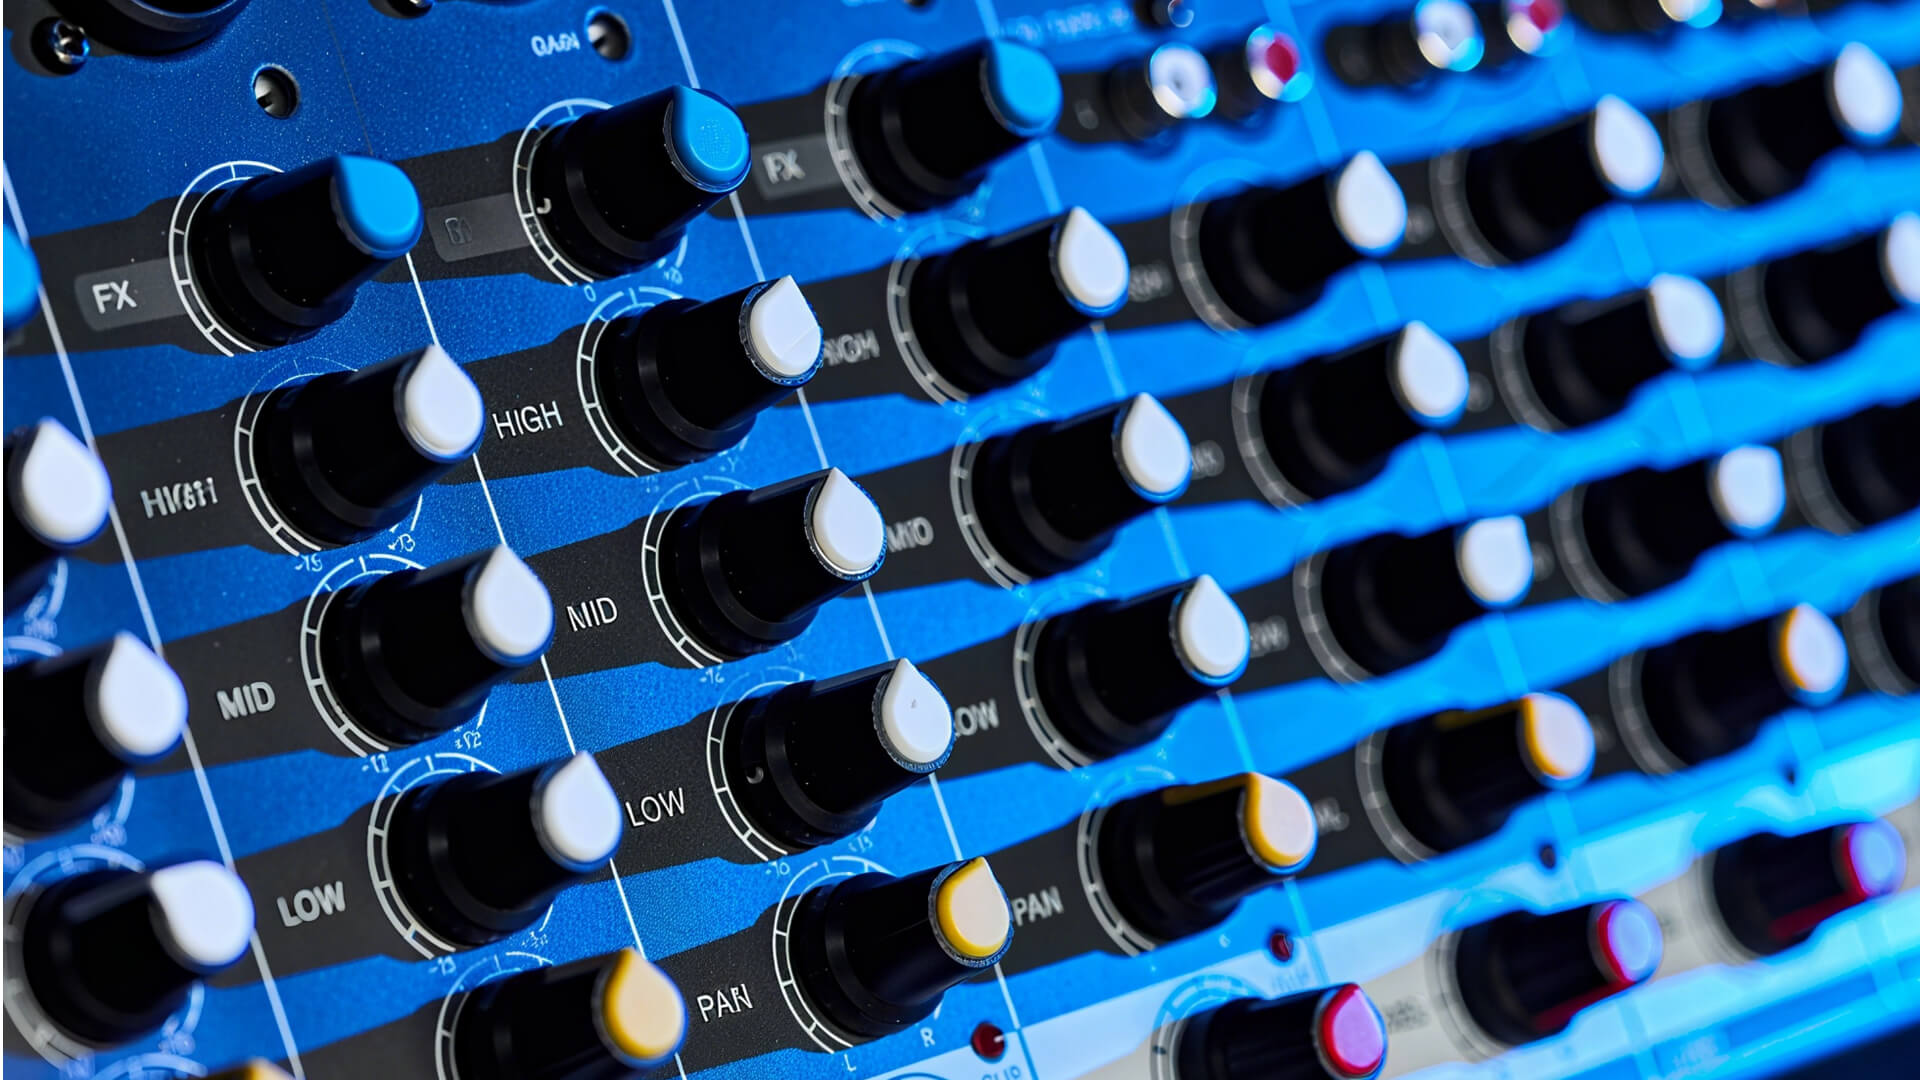
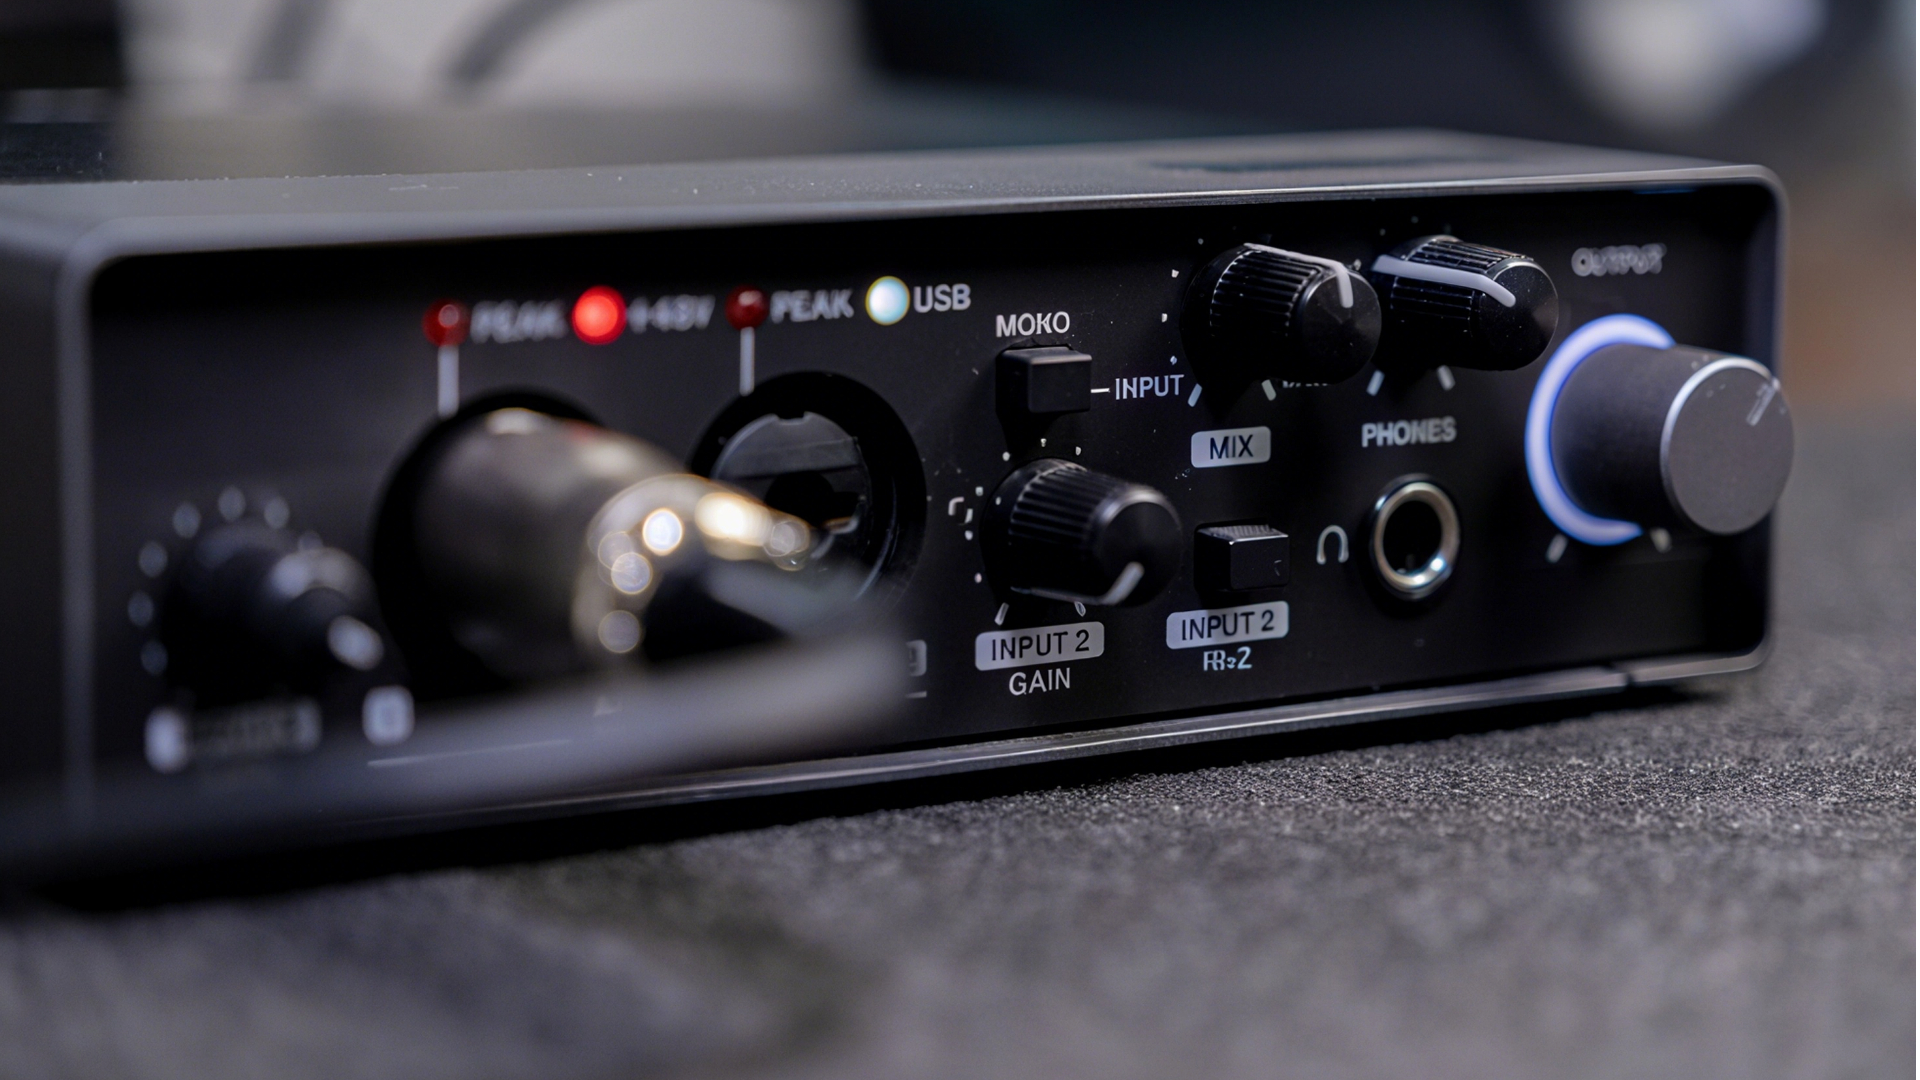
Audio Interface or Mixer
If you’re using XLR microphones, you’ll need an audio interface or mixer for clean preamps, phantom power (for condensers), and reliable analog‑to‑digital conversion. Interfaces typically offer low‑latency direct monitoring and higher‑quality gain, while mixers add hands‑on faders and flexible routing. For multi‑mic setups, choose enough mic inputs and look for multitrack USB recording (not just a stereo mix). Aim for ample gain (60 dB+ helps with low‑output dynamic mics) and solid drivers to minimize latency and glitches.
Mic Stands and Boom Arms

A stable stand keeps your mic locked in the sweet spot so you don’t drift off‑axis. Boom arms free desk space, make positioning effortless, and help you stay close to the mic. Avoid tiny desktop tripods that transmit keyboard and table vibrations; pair the stand with a shock mount to reduce bumps and rumbles. Place the mic about 10–15 cm from your mouth and slightly off‑axis to control plosives while maintaining clarity.
Pop Filters or Windscreens
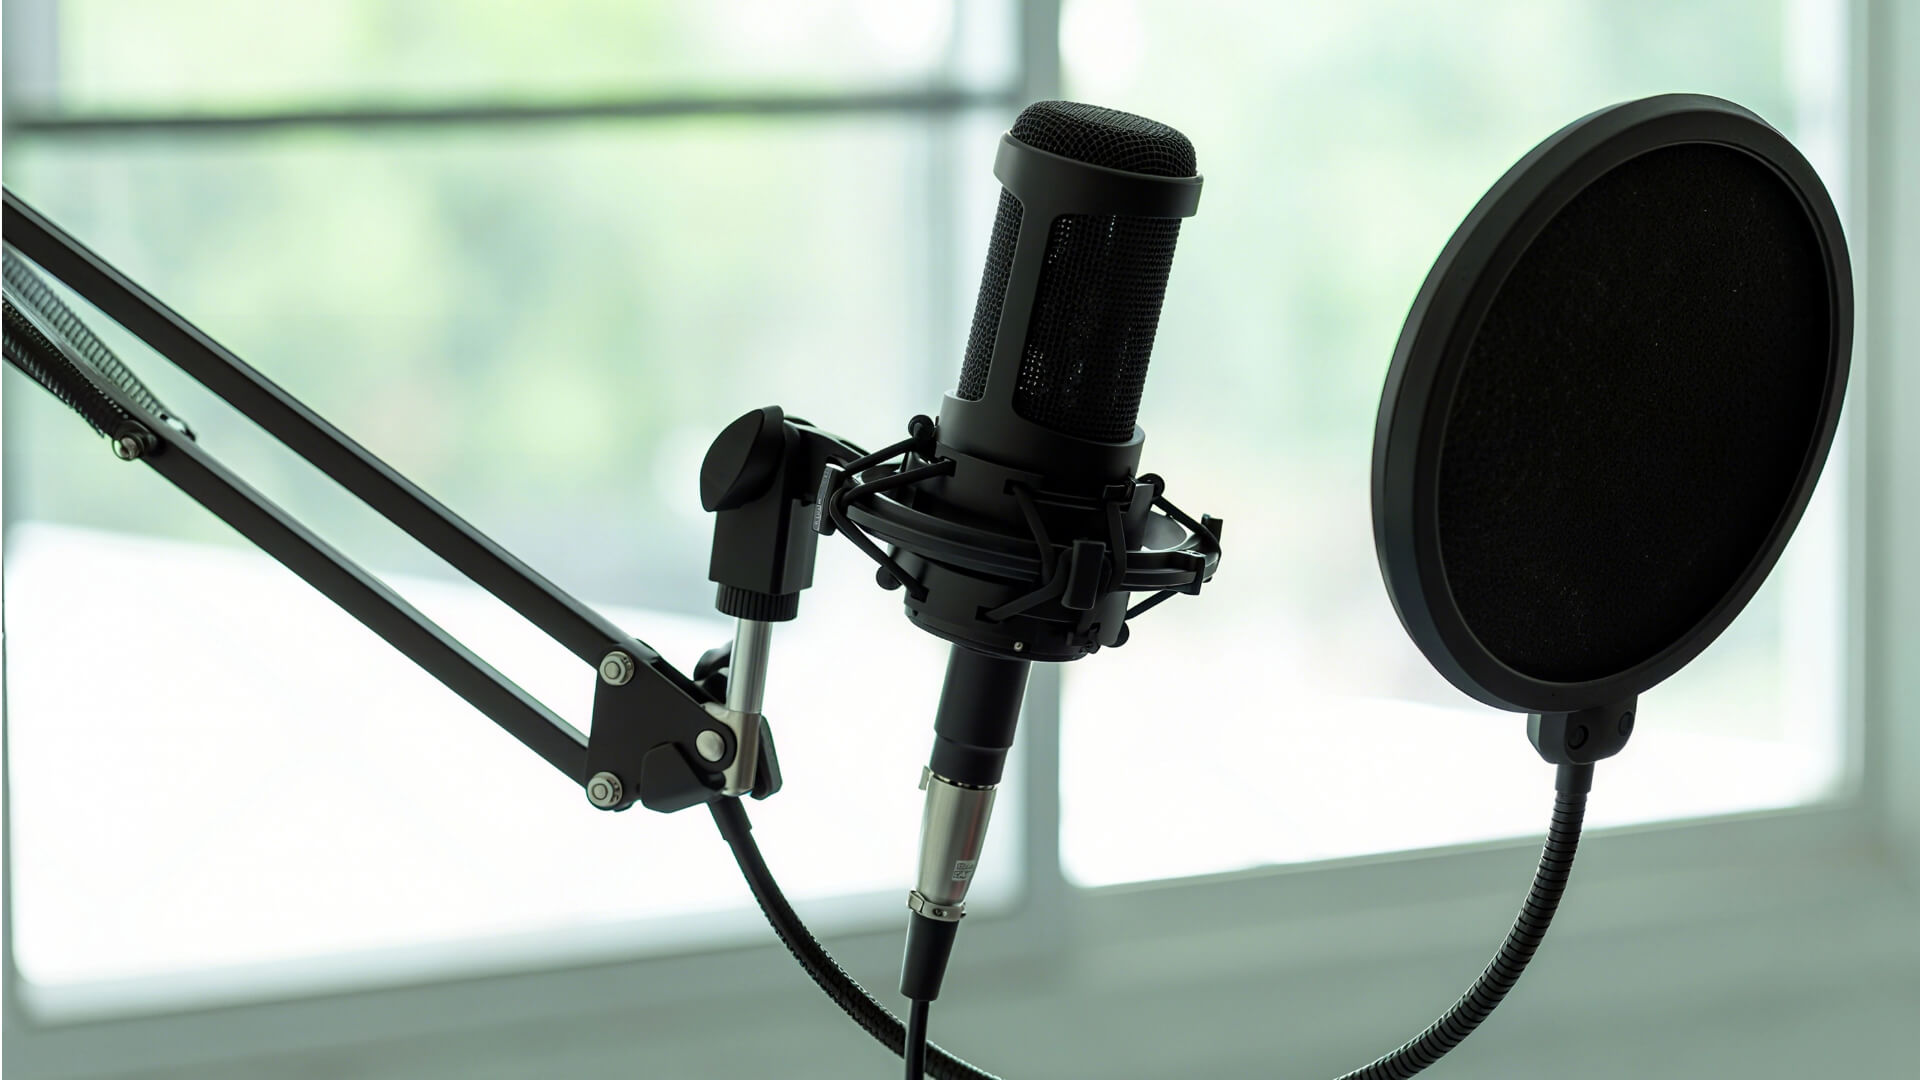
Pop filters (nylon or metal screens) tame explosive “p” and “b” sounds before they hit the capsule. Foam windscreens help with light wind and mouth noise and are essential outdoors; a furry windscreen offers even better wind protection on location. Use the right size so it doesn’t touch the mic, and combine a pop filter with close placement for natural tone without harsh plosives.
Headphone Amplifier (Optional)
In multi‑host setups, a headphone amplifier lets each person control their own volume and hear clearly without sharing a single output. Choose a distribution amp with multiple powered channels and adequate headroom; avoid passive splitters that reduce level and quality. Match impedance to your headphones, and consider models with per‑channel inputs if you need custom mixes (e.g., mix‑minus for remote guests).
Optional Equipment Enhancements
Portable Digital Recorder
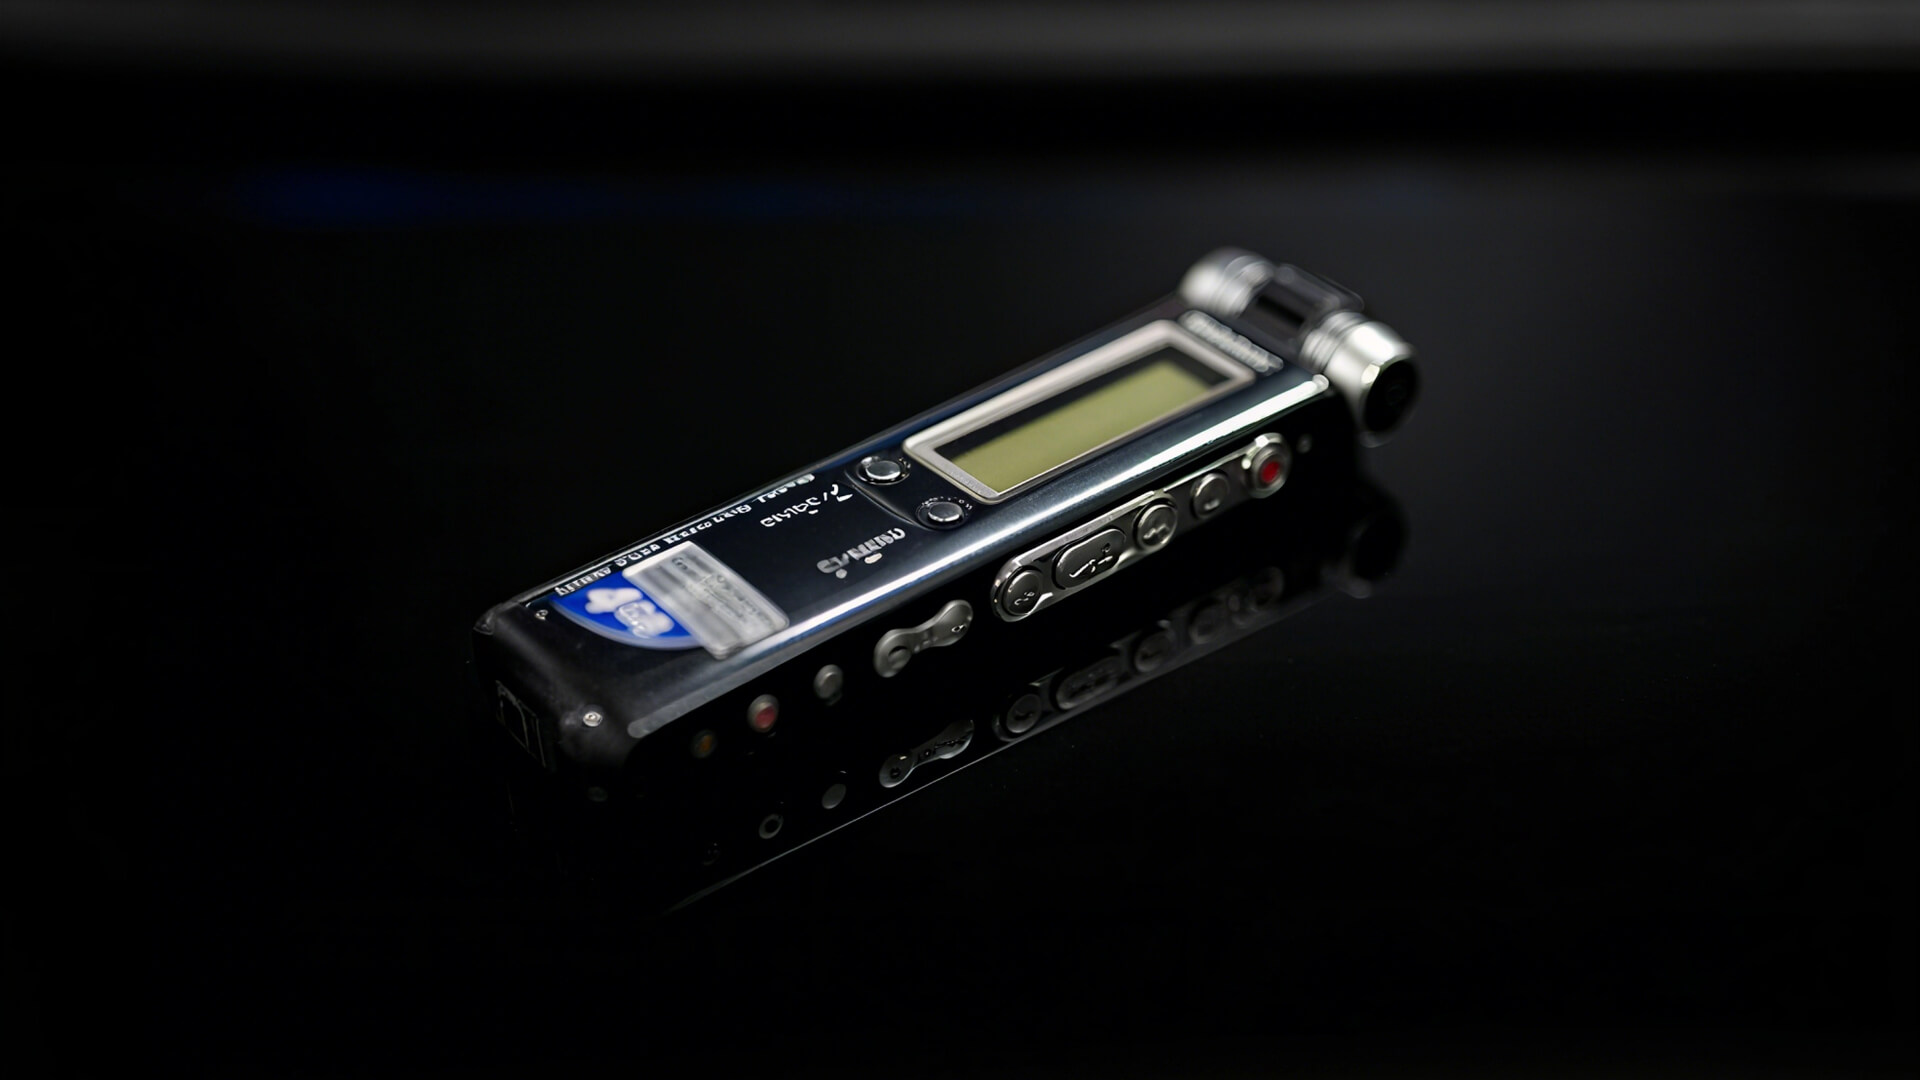
A portable recorder lets you capture high‑quality audio on the go and provides a reliable backup in the studio. Look for models with XLR inputs, phantom power, and low‑noise preamps; 32‑bit float recording or dual‑record safety tracks can prevent clipping. Pair it with lavalier mics for interviews or a shotgun mic for noisy locations, monitor with headphones, and keep spare batteries and SD cards on hand. For easy syncing with video, record at 48 kHz and add a quick hand clap at the start.
Video Camera
If you’re producing a video podcast, almost any modern camera works—mirrorless, camcorder, or even a smartphone—provided you control lighting and framing. Prioritize clean HDMI output, continuous power, and a stable frame rate (24/25/30 fps); set manual exposure and white balance for consistency. Capture primary audio separately for best quality, then sync in post (or use a capture card and switcher for live streaming). Good lighting often matters more than the camera itself.
Studio Accessories
Simple acoustic treatment can dramatically improve clarity. Place absorption panels at first reflection points, add thick curtains and a rug to tame flutter echo, and use corner bass traps if possible; a bookcase with uneven items also helps diffuse reflections. Seal door gaps, minimize HVAC noise, and decouple stands from the desk to reduce vibrations. These changes let you record closer, cleaner, and with less post‑processing.
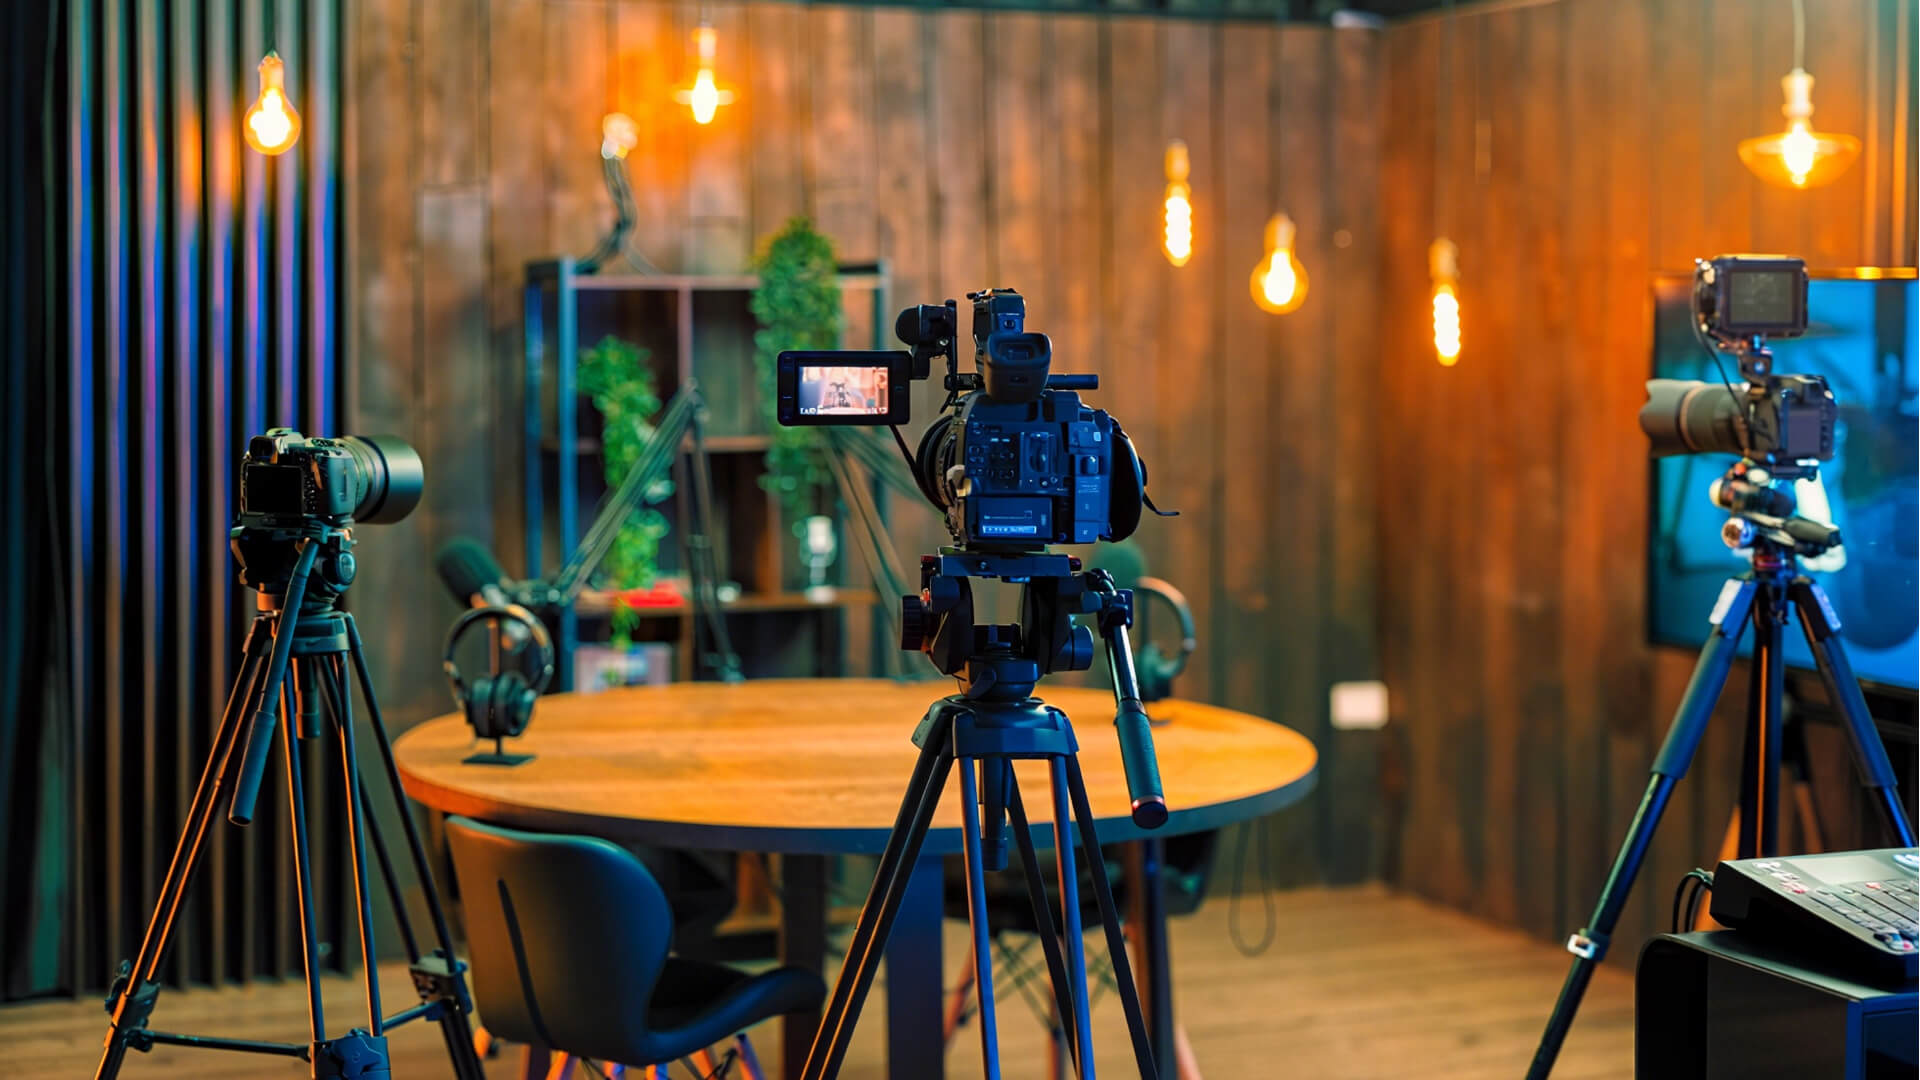
Example Setups by Stage
Beginner Setup
Start simple: one USB microphone, a pair of closed‑back headphones, and free or affordable software like Audacity or GarageBand. This plug‑and‑play chain minimizes setup friction and gives you clean, consistent audio from day one. Record in a quiet, soft‑furnished room, keep the mic 10–15 cm from your mouth, and monitor while you speak to catch clipping or background noise. Add a pop filter and a basic stand if budget allows—they make an immediate difference for plosives and positioning.
Intermediate Setup
Step up to 1–2 XLR microphones with an audio interface or compact mixer, plus sturdy stands and pop filters. Record each mic to its own track for better control over levels, noise reduction, and EQ in post. Use closed‑back headphones for every host; add a small headphone amplifier so each person can set a comfortable volume without sharing a single output. Aim for healthy gain staging (average around –18 dBFS, peaks near –10 to –6 dBFS) and add basic room treatment (curtains, rugs, bookshelves) to tame reflections.
Advanced Setup / Small Studio
Build a multi‑mic rig with a multi‑channel audio interface or digital mixer that supports true multitrack recording and reliable low‑latency monitoring. Use a portable recorder as a safety backup—ideally with 32‑bit float or dual‑record safety tracks—to protect against clipping and device failures. Invest in acoustic treatment at first reflection points, bass trapping where possible, and consistent lighting if you add video. Provide per‑host monitoring via a distribution headphone amp, keep power stable (surge protection/UPS), and maintain tidy cable management for a quiet, reliable studio workflow. If producing video podcasts, capture primary audio separately and sync in post (hand clap or timecode) for best results。
Buying Tips and Practical Considerations
When choosing podcast gear, make sure it fits the style of your show. A solo podcaster may only need a single microphone and headphones, while co‑hosts or roundtable formats require multiple mics, an audio interface, and possibly a headphone amplifier. Always plan your setup around the number of speakers and whether you’ll be recording in‑person, remotely, or on location.
It’s best to start simple and prioritize reliability. A modest but consistent setup usually sounds far more professional than an expensive chain that’s complicated to use or prone to issues. Focus on clarity, clean gain, and stable recording first—these elements matter more to listeners than luxury accessories. As your podcast grows in scope and audience, you can expand with extra microphones, better acoustics, or video integration, upgrading step by step instead of overspending at the beginning.
Conclusion
The essential trio—a microphone, headphones, and a recording device—is enough to achieve clear, listener-friendly audio. With a dependable base, you can focus on storytelling and delivery instead of wrestling with tech.
Accessories and enhancements elevate your sound, but they aren’t required on day one. Upgrade intentionally as your needs grow: add pop filters, better stands, an interface for XLR mics, and basic acoustic treatment. In the long run, consistency, preparation, and good mic technique matter more than expensive gear. Build a repeatable workflow, monitor while recording, back up everything, and improve step by step.
If setting up all the podcast equipment feels overwhelming, you can simply use an AI podcast generator like AIPodify. Just type in your text, click a few buttons, and you’ll quickly get audio that’s ready to publish on any podcast platform. This makes podcasting much easier, lowers the barrier to entry, and lets you focus on your ideas instead of the technical work.
Why Every Brand Needs Podcast as a Marketing Tool in 2025?
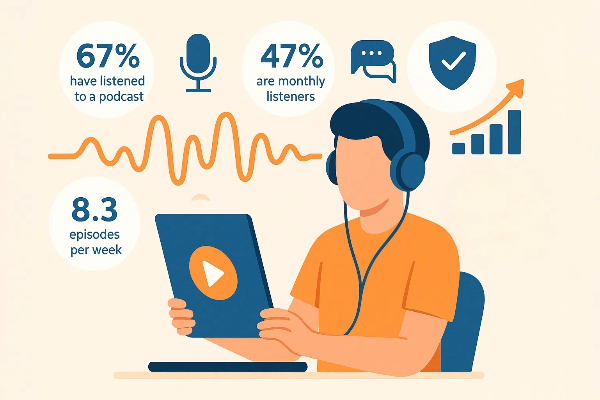
Podcasting has rapidly evolved from a niche hobby into one of the most influential channels in digital marketing. According to Edison Research, 67% of the U.S. population aged 12 and older have ever listened to a podcast, and 47% are monthly listeners, with 34% tuning in weekly.
How to Start a Podcast Step By Step?
Podcasting is booming. In 2025, there are approximately 584 million podcast listeners worldwide, up nearly 7% from the previous year. The global market is expected to reach $39.6 billion, up from about $30.7 billion in 2024. Podcasts have become a powerful platform for sharing ideas, connecting with an engaged audience, and building influence in your field. Whether you're a storyteller, thought leader, or industry expert, podcasting gives you a chance to reach people personally and shape meaningful conversations.