How to Record a Podcast Remotely (That Actually Sounds Good) [2026 Guide]
The voices are tinny, the guests talk over each other, and background noise ruins the vibe. I still cringe remembering my first big remote interview years ago. I spent three hours prepping questions, but I trusted a standard video call for the audio. The result? A hollow, echoing mess that took me two days to "fix" in post-production—and it still sounded amateur.
It doesn’t have to be this way. I have spent years testing every software and technique to solve these problems, so you don’t have to guess.
The secret isn’t buying a $1,000 microphone—it’s using the right process.
In this guide, you will learn the exact software that prevents glitches, how to prep non-techy guests in five minutes, and how to "hack" your room acoustics for free. Let’s make your remote interview sound like you are sitting in the same room.
Why Remote Audio Used to Suck (and Why It Doesn't Anymore)
Years ago, recording a remote guest meant accepting bad audio. You just hoped the internet connection held up. But technology has changed, and we don't have to settle for "good enough" anymore.
The Problem with Zoom and Microsoft Teams
Zoom and Microsoft Teams are fantastic for business meetings. They are terrible for podcasts. I realized this when I tried to edit a Zoom recording and saw the waveform looked like a flat brick.
These apps prioritize speed over quality. To make sure the call doesn't drop, they use heavy lossy audio compression. They "squash" the audio data, stripping out the rich details of your voice. This is why you often sound tinny or robotic on a Zoom call compared to high-fidelity audio standards.
Then, there is the latency (lag).
You ask a question. There is a delay. You think the guest isn't answering, so you start talking again just as they begin to speak. It creates an awkward "No, you go ahead" loop that creates a nightmare for any editor trying to maintain a natural flow.
The Solution: "Local" Recording
The fix is something called Local Recording.
Don't let the technical term scare you. It simply means the audio is recorded directly onto your computer's hard drive, not over the internet. Your guest’s audio is recorded onto their computer at the same time.
Here is why this is a game-changer:
- No Glitches: Because the recording happens on the device, a sudden drop in packet loss doesn't ruin the audio file.
- Studio Quality: You get the full, high-quality sound from the microphone, not a compressed version.
Once the interview is done, the software uploads those high-quality files to the cloud. When I switched to this method, the difference heavily reduced my editing time because I wasn't fighting to EQ bad audio. It sounds like you were sitting in the same room.
Now that you know how it works, let's look at the specific tools that handle this for you automatically.
Essential Software for Remote Podcasting
You have two choices here: pay for ease or pay with your time. I have tried almost all of them, and here is where I landed.
The Best "All-in-One" Tools
If you have a small budget, spend it here. Dedicated recording platforms preserve your audio quality automatically. You just send a link, and the software handles the rest.
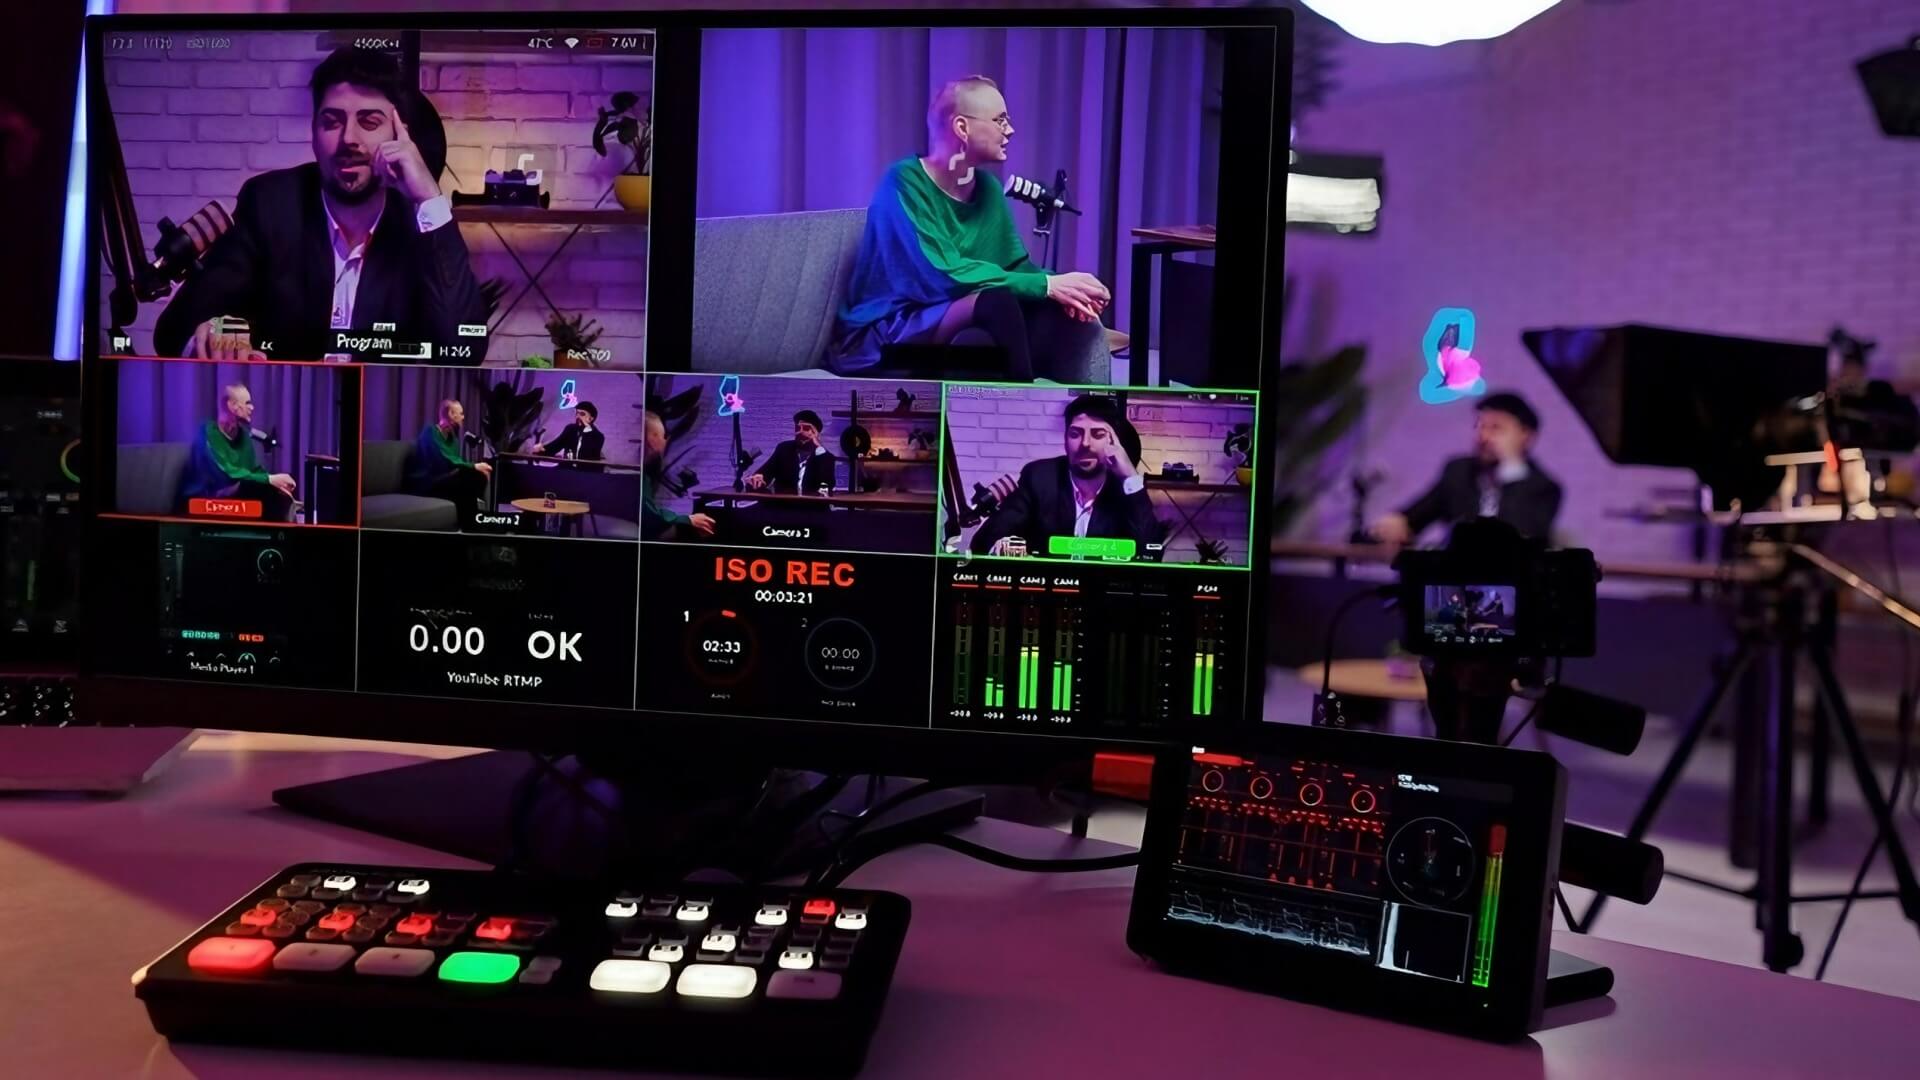
- Riverside: This is a favorite for many podcasters. It records high-quality local audio and 4K video. It feels like a professional TV control room, but it runs in your web browser.
- SquadCast: This tool is famous for reliability. I used SquadCast for a critical series last year and loved its "progressive upload" feature. It saves your audio constantly while you record. If your computer crashes, your files are safe.
Why they are worth the money:
These tools use that "Local Recording" magic we just talked about. They upload the files to the cloud for you. The biggest benefit I found? Peace of mind. You don't need to teach your guest anything technical. They just click and talk.
Free Options (If You Are on a Budget)
If you are starting with zero budget, you can still record remotely. Just be ready for a little extra work.
- Zencastr: This is a popular web-based option. They offer a free tier. I started many of my early projects here. It provides a solid foundation before you're ready to upgrade to paid tools.
- The "Manual Double-Ender": This is the DIY method. You get on a Zoom call to see each other. Then, both you and your guest open a free app like Audacity or QuickTime on your own computers and hit record. Afterward, the guest emails you their file.
The catch with free options:
The manual method is risky. It relies on your guest being tech-savvy. I learned this lesson when a guest recorded 45 minutes of pure gold, only to realize at the end that they never hit the "Record" button on QuickTime. If they forget or send the wrong file, you lose the episode.
Once you have picked your software, you need to make sure your hardware is ready to do the job.
The Gear Checklist for You and Your Guest
Great software can’t fix bad hardware. You don’t need to spend thousands, but you do need these three basics to get professional results.
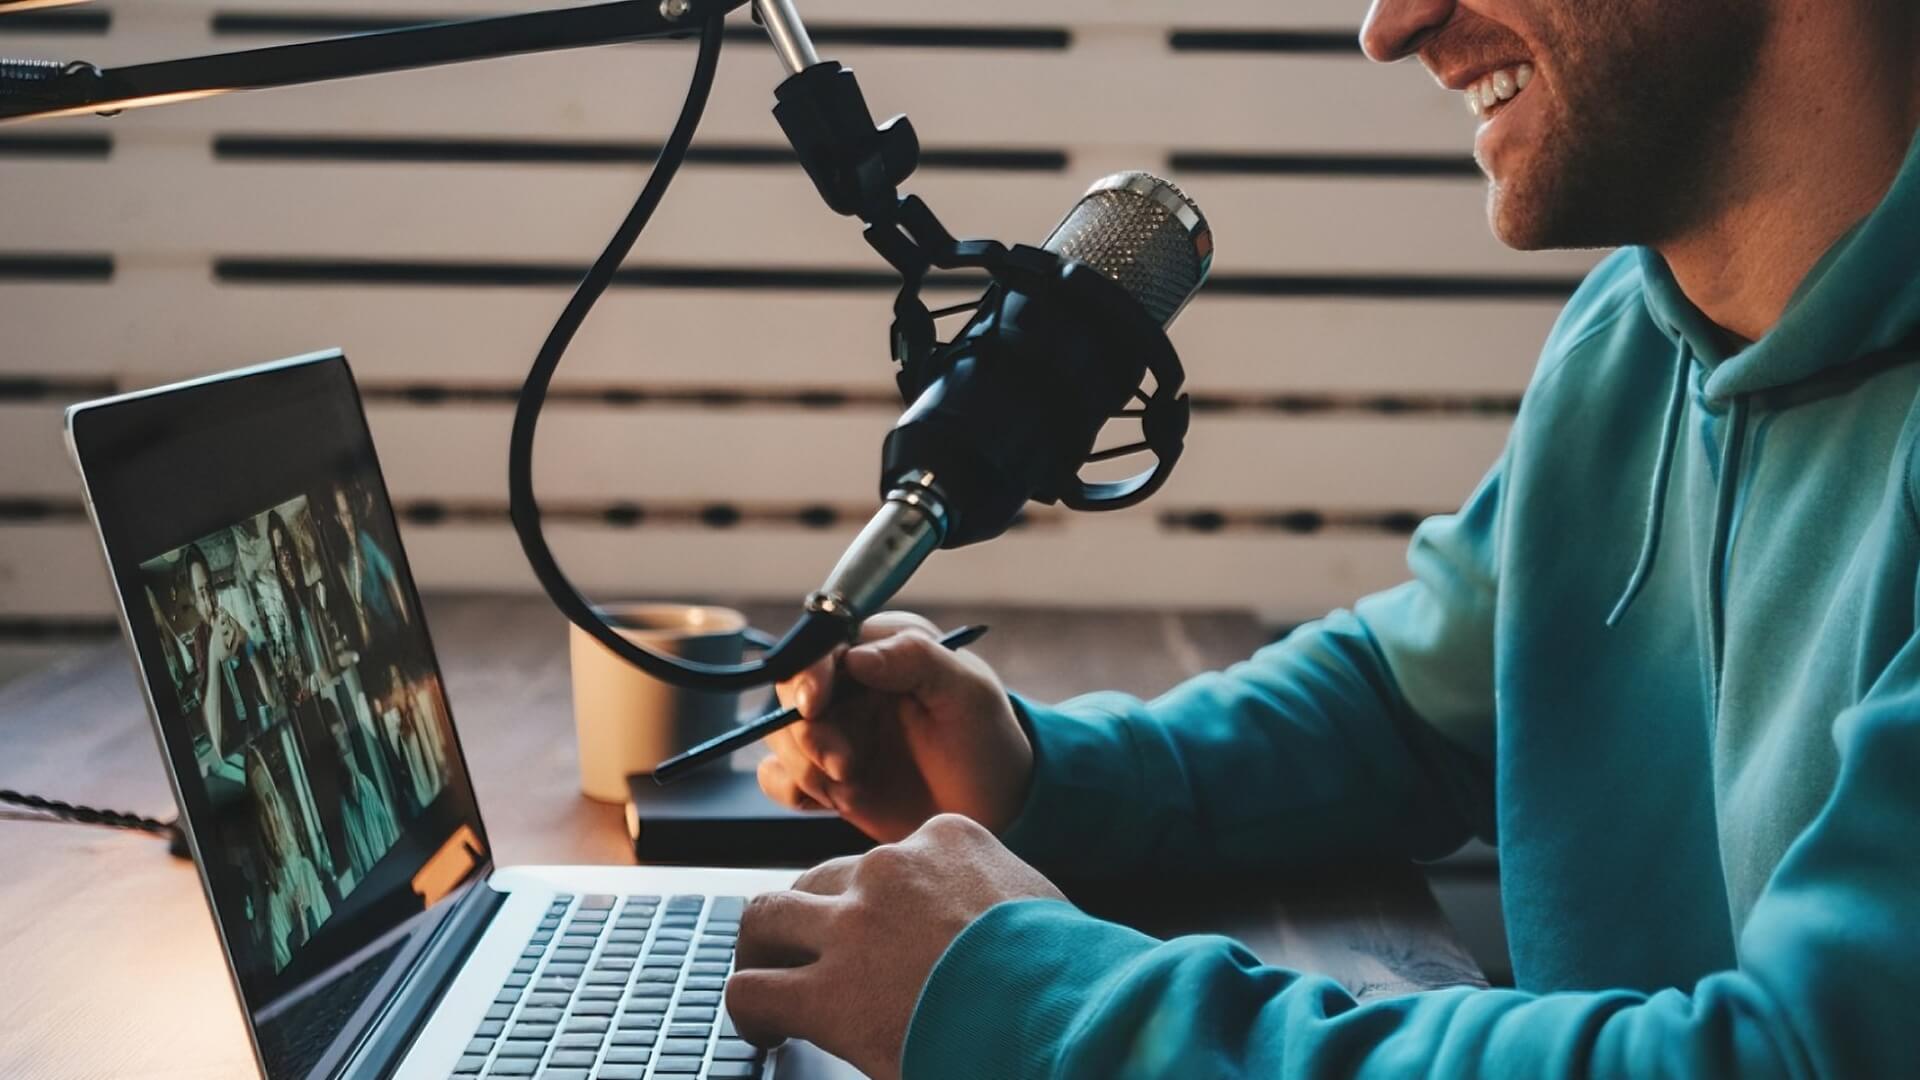
The Microphone
Please, whatever you do, do not use the internal microphone on your laptop. It will make you sound like you are shouting from the bottom of a well.
Instead, get a USB Dynamic Microphone.
My top recommendation for beginners is the Samson Q2U. I literally have one in my travel bag right now. It is affordable, durable, and plugs right into your computer. Unlike sensitive studio mics that hear everything, dynamic mics focus only on your voice. I've recorded in noisy hotel rooms with this mic, and it successfully blocked out the hallway traffic.
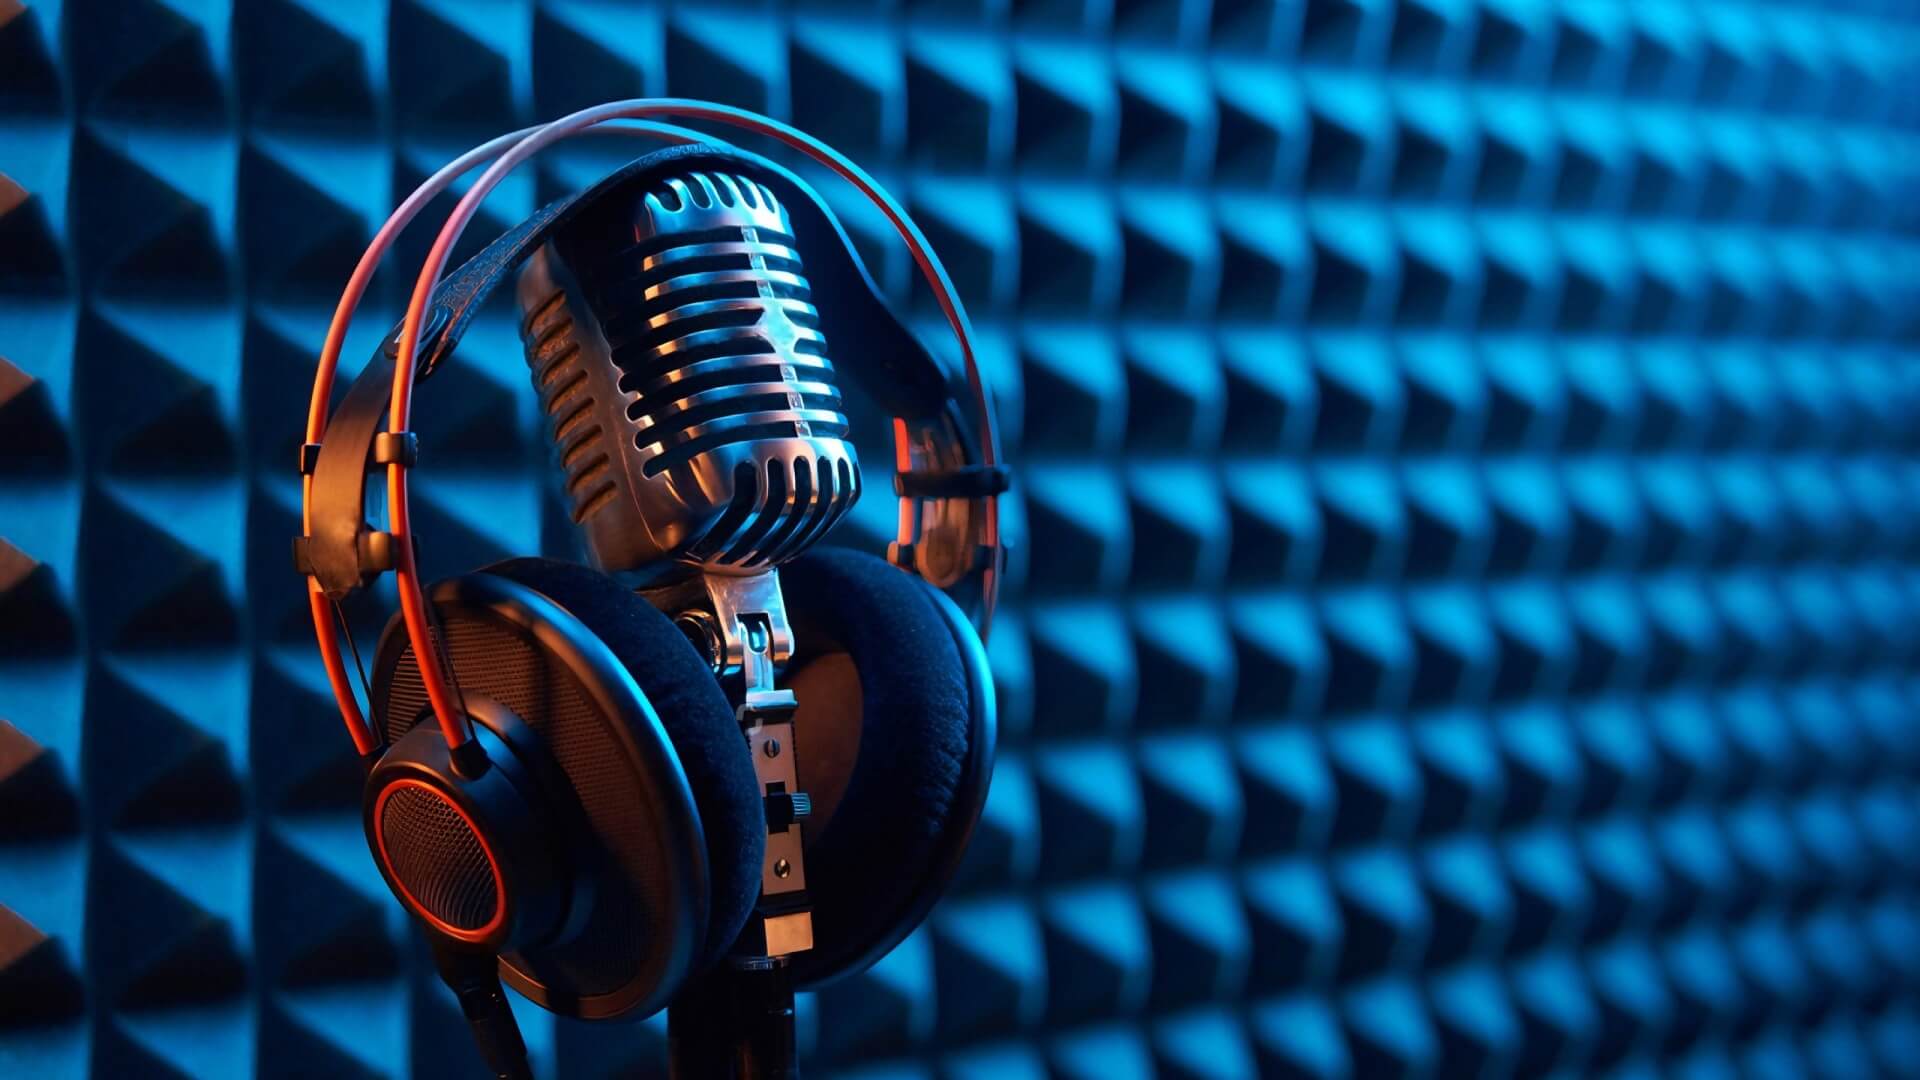
Headphones are Non-Negotiable
You and your guest must wear headphones. This is not optional.
Here is why: If you use your speakers, your microphone will hear your guest's voice coming out of them. It records that sound again, creating a terrible audio feedback loop. It is almost impossible to fix this in editing.
You don't need expensive studio headphones. Those cheap wired earbuds that came with your old phone work perfectly. Just plug them in.
Internet Connection
Video calls require a lot of bandwidth. A stable connection keeps your conversation flowing smoothly without robotic glitches.
If you can, plug an ethernet cable directly from your router into your computer. It is much more reliable than WiFi. It’s the single cheapest upgrade you can make for instant stability.
If you must use WiFi, sit as close to the router as possible. Also, do your computer a favor before you start. Close all your open browser tabs and pause any large downloads.
You have the software and the gear. Now, let’s walk through exactly what to do when it’s time to hit that red button.
How to Prep a Non-Techy Guest
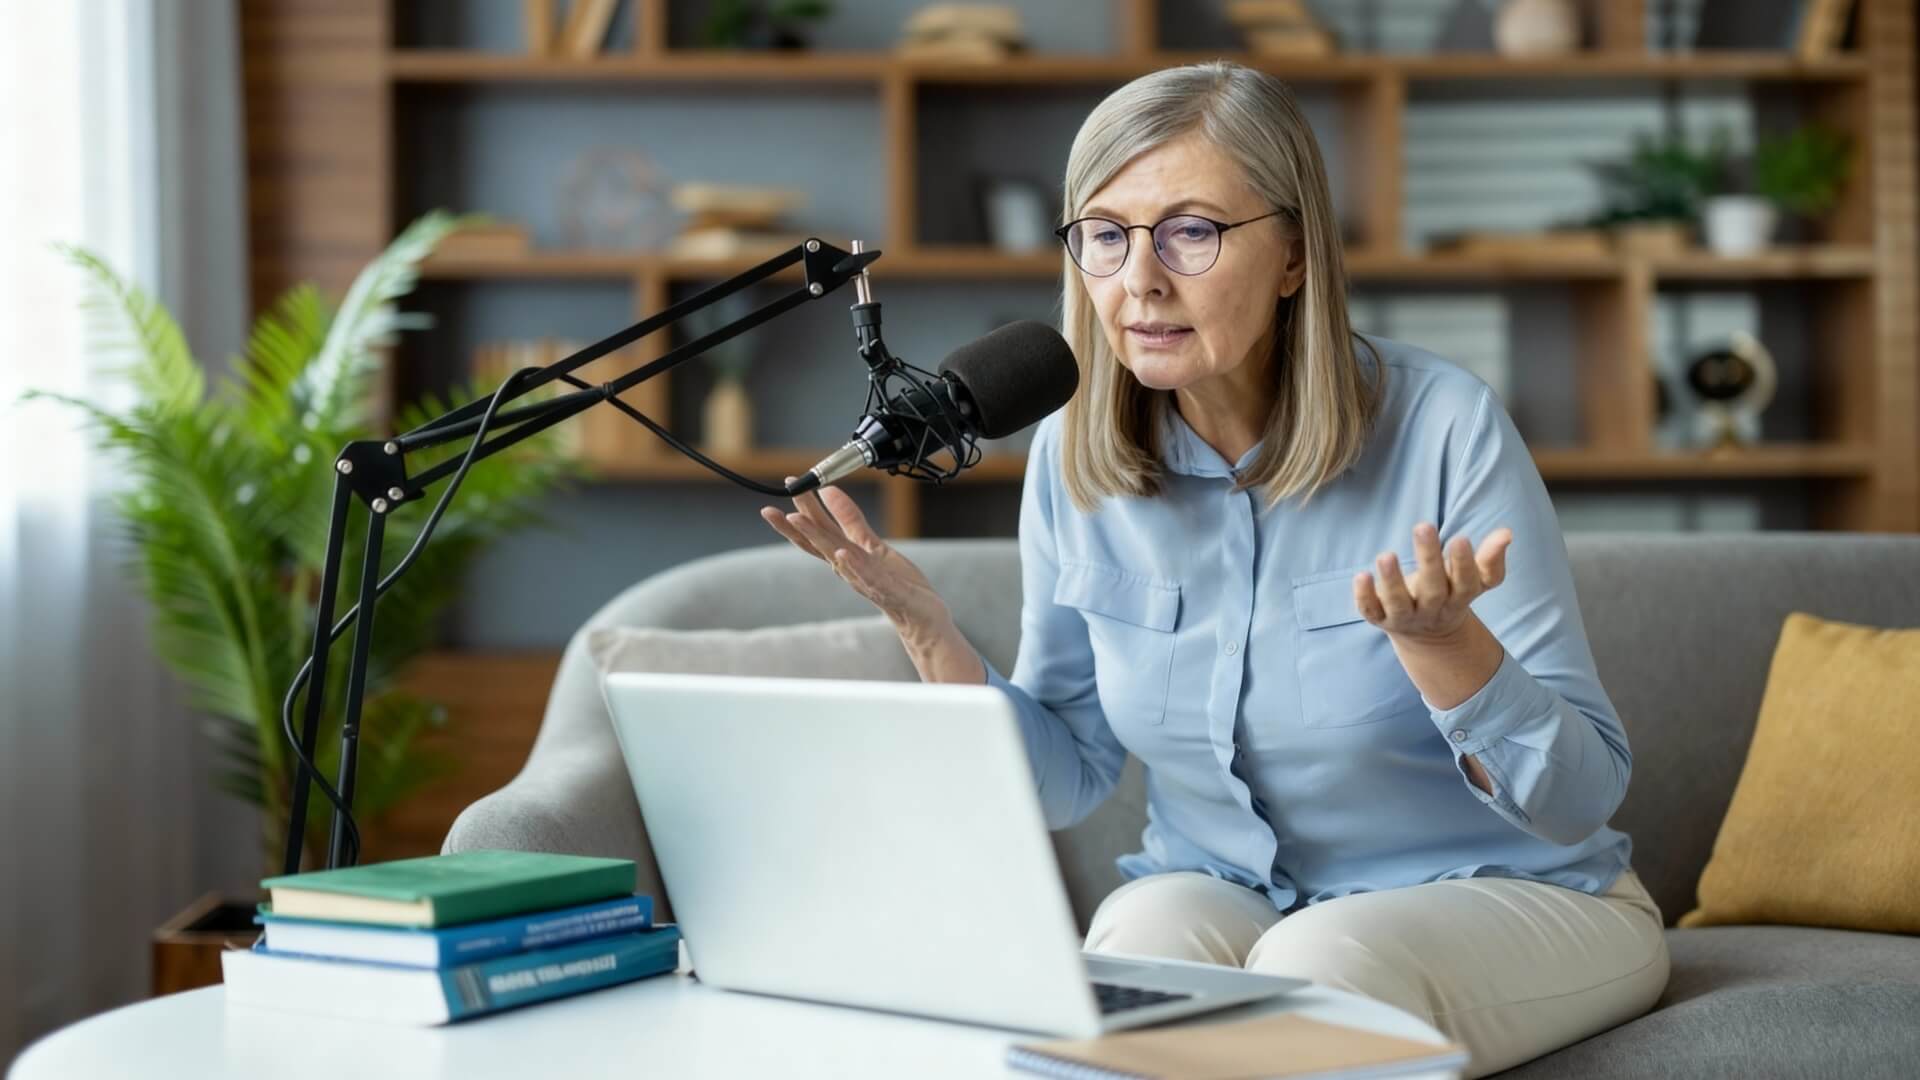
Your guest might be a genius in their field. That doesn't mean they know how to use a microphone. It is your job to guide them.
The "One-Page" PDF Guide
Don't overwhelm them with a long technical email. They won't read it.
Instead, send a simple one-page PDF checklist 24 hours before the show. Keep it to three golden rules:
- Wear Headphones: Any pair will do.
- Find a Soft Room: Carpets and curtains are better than tiles and glass.
- Close the Window: Sirens and birds ruin recordings.
This sets expectations without scaring them off.
The 5-Minute Tech Warmup
Never jump straight into the interview.
When the guest joins the call, spend the first five minutes just chatting. Ask about their day. Use this time to calm their nerves and "secretly" check their audio.
Ask them to double-check that their correct microphone is selected. I always ask guests to scratch the mic grill lightly. If I hear the scratching sound loud and clear through the headphones, I know they are using the real mic, not the laptop mic.
Now that your guest is ready, let's look at a zero-cost trick to save your recording if everything crashes.
Step-by-Step: Recording Your First Remote Episode
You have the gear. You have the app. Now it is time to record. Don’t just rush in and click "Start." A few minutes of preparation here saves you hours of fixing things later.
Step 1: The Pre-Flight Check
First, tell your computer which microphone to use.
It sounds obvious, but computers are tricky. They often default back to the internal laptop mic or your webcam mic. Go into your sound settings and make sure your Input is set to your USB microphone and your Output is set to your headphones.
Next, silence the world.
Turn on "Do Not Disturb" mode. Close Slack, quit your email app, and silence your phone. I once ruined a perfect emotional moment in an interview because my Mac's "Calendar" notification pinged loudly in the recording. Never again.
Step 2: The Sound Check
Look at the volume meter in your recording software.
When you speak normally, the bar should bounce in the green or yellow zone. If it hits the red zone, your audio is "clipping." That means it is too loud and will sound distorted. Turn your microphone volume down slightly until you stay out of the red.
Also, take a moment to just listen. Do you hear a loud fan? Is the air conditioner blasting? I often unplug my fridge for an hour while recording in my home office. Just remember to plug it back in!
Step 3: Managing the Lag During Conversation
Even with the best tools, there is often a tiny delay over the internet. This causes people to accidentally talk over each other.
To fix this, adopt the "One-Second Rule."
When your guest finishes a sentence, count to one in your head before you respond. This takes discipline, but it creates a clean gap that creates smoother editing later.
If you want to interject without interrupting the flow, use visual cues. Raise a finger or nod enthusiastically. Since you can see each other on video, this signals the guest to wrap up their point so you can jump in.
But what happens when the technology fails completely? Let’s look at how to handle common disasters.
Troubleshooting Common Disasters
Technology isn't perfect. Sometimes, despite your best plans, things go wrong. Here is how I have handled real-time disasters.
"My Guest Sounds Like a Robot"
It happens to everyone. You are deep in conversation, and suddenly your guest sounds like a robot trapped in a tunnel. Their internet connection is struggling.
The quick fix? Kill the video.
Video eats up a ton of data. By turning off the camera feed, you free up bandwidth for the audio. I've saved at least a dozen interviews just by saying, "Hey, let's go audio-only for a bit."
The Audio is Out of Sync
Sometimes, the recording tracks don't line up perfectly. You might hear the answer before you even finish asking the question.
To prevent this, use the "Clap Sync" trick.
Once you hit record, ask your guest to count down with you: "3, 2, 1..." and then clap loudly. This creates a giant spike on the audio waveform. It acts like a visual anchor. When you edit the files later, you simply find that spike on both tracks and line them up. It matches everything perfectly.
We Lost the File!
This is every podcaster's nightmare. You finish a great interview, close the window, and... the file is gone.
If you are using modern tools like Riverside or SquadCast, relax. They upload small chunks of audio to the cloud while you are recording. Even if your computer crashes mid-sentence, the audio up to that point is safe on their servers. I had a laptop battery die mid-sentence once, and SquadCast still had 99% of the file waiting for me when I rebooted.
Now that we have fireproofed the technology, let’s talk about the biggest variable in remote recording: the humans.
Conclusion
Recording a podcast remotely opens up a world of possibilities. You can talk to experts across the ocean or co-hosts across the country, all without leaving your house.
Yes, it takes a little setup. You have to check your internet, prep your quiet space, and guide your guests. But once you hear that crystal-clear audio, you will know the effort was worth it.
Of course, there are days when you might want to create content without the logistical headache of scheduling and recording. If you ever need to turn a script, a document, or a web link into audio quickly, you might want to check out a tool like AIPodify. It can auto-generate interview-style audio for you, saving you the setup time.
Whether you choose to record manually or use AI tools to help you scale, the most important step is the same: just start creating.

Royalty-Free Music for Podcasts: The Ultimate Guide with 18 Top Sites
Good music is essential for a successful podcast. It plays a role at different stages and can greatly affect the overall quality of your show. For example, adding music at the beginning of your podcast helps listeners quickly get into the rhythm, while a consistent intro theme can build your brand identity. During the main content, placing music in the right spots can enhance the atmosphere and make your content more engaging.
Podcast Structure: The Complete Guide to Organizing Your Episodes in 2026
Content is the heart of a podcast. But content without clear structure hurts quality. It creates a bad listening experience. A well-structured podcast helps listeners understand your message. It is key to attracting and keeping your audience.